In this article, we’ll explain what the Microsoft XPS Document Writer is, how it works, and how to get rid of it if you no longer need it.
What Are XPS Files?
XPS (also known as OXPS or OpenXPS) is a standardized file format (with the .xps file extension) that stands for Open XML Paper Specification. An XPS file describes a document with any number of pages in a fixed layout. Essentially, XPS files are like Microsoft’s version of PostScript or PDF files. The goal of XPS files (like PDF) is to offer “what you see is what you get” functionality. The point is that no matter where you view or print an XPS file, it will remain identical. In the Windows operating system, there are two programs used to view XPS files. These are the XPS Viewer and Microsoft Reader apps which come preinstalled on Windows, and, much like Adobe Acrobat, allowing users to view XPS files and add digital signatures if required. Even though Microsoft continues to provide support for XPS files, the PDF format remains the industry standard.
What Is the Microsoft XPS Document Writer?
The Microsoft XPS Document Writer (MXDW) is a printer driver that enables Windows applications to create XPS files. This driver was introduced in Windows XP Service Pack 2 and has continued through Windows Vista, Windows 7, Windows 10, and Windows 11. The MXDW comes in handy when you want to create an XPS document from an application that doesn’t usually let you save a file in the XPS format.
How to Use the Microsoft XPS Document Writer
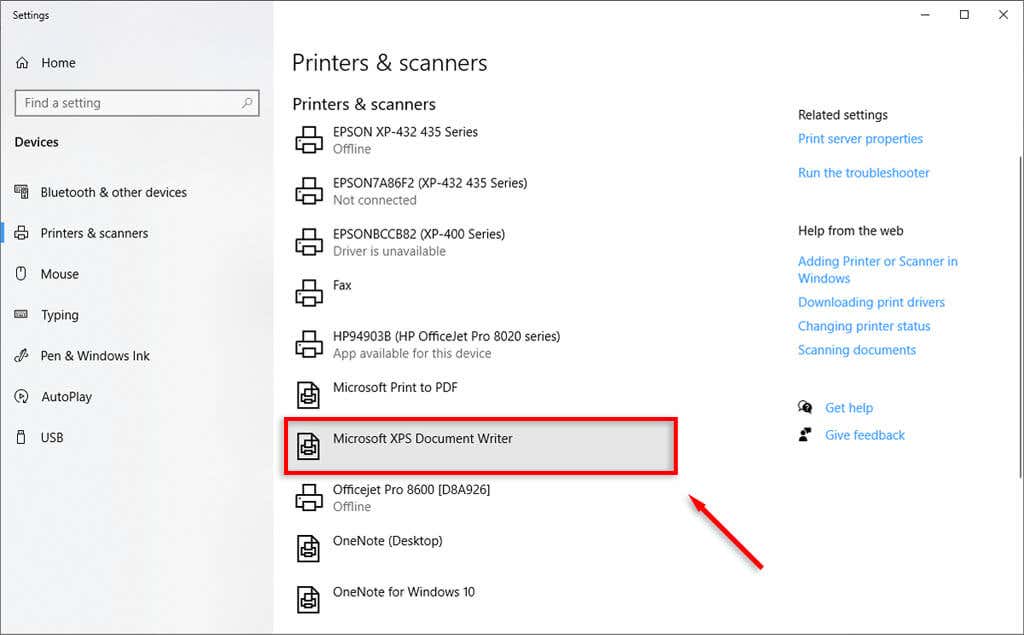
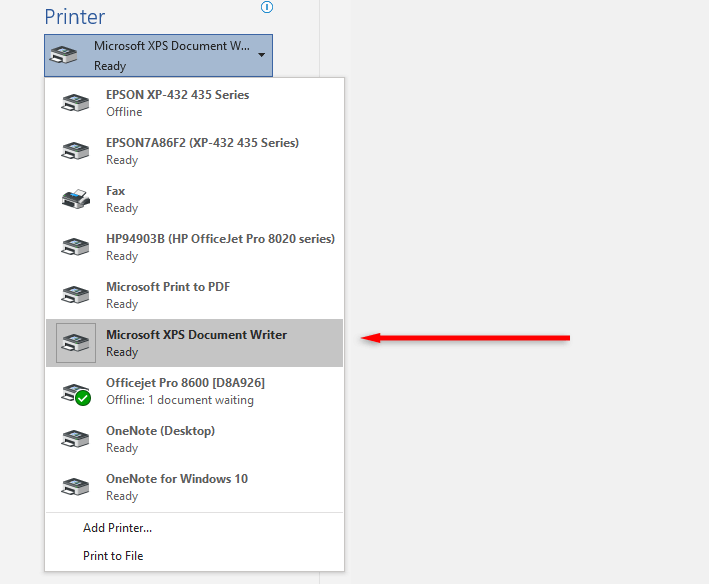
When the MXDW is installed on your Windows PC, it will appear as an option in the print queue. When you try to print a document, select the printer drop-down menu and select the Microsoft XPS Document Writer printer option and click OK. You will then be prompted to enter a file name for the XPS document. Enter this, then press OK once more. The XPS file will then be saved at C:\Users\username\Documents.
How to Remove the Microsoft XPS Document Writer
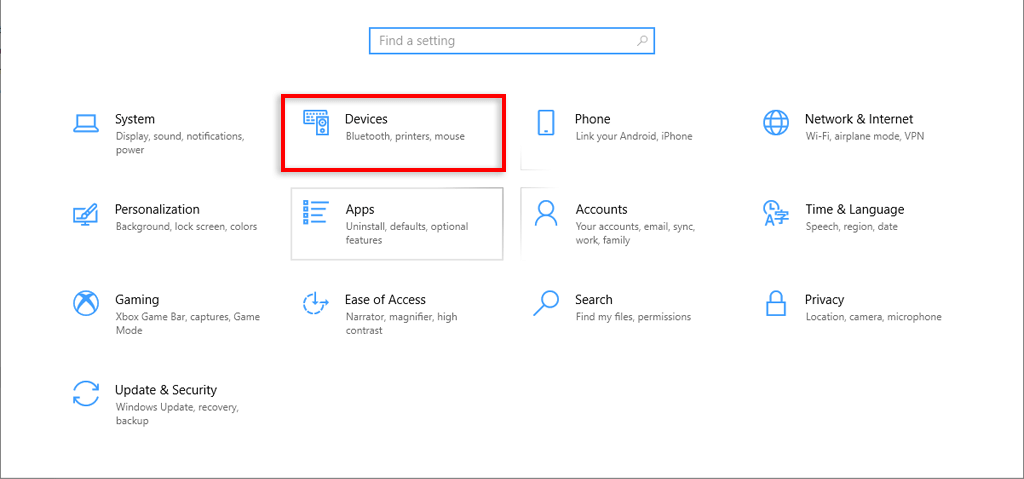
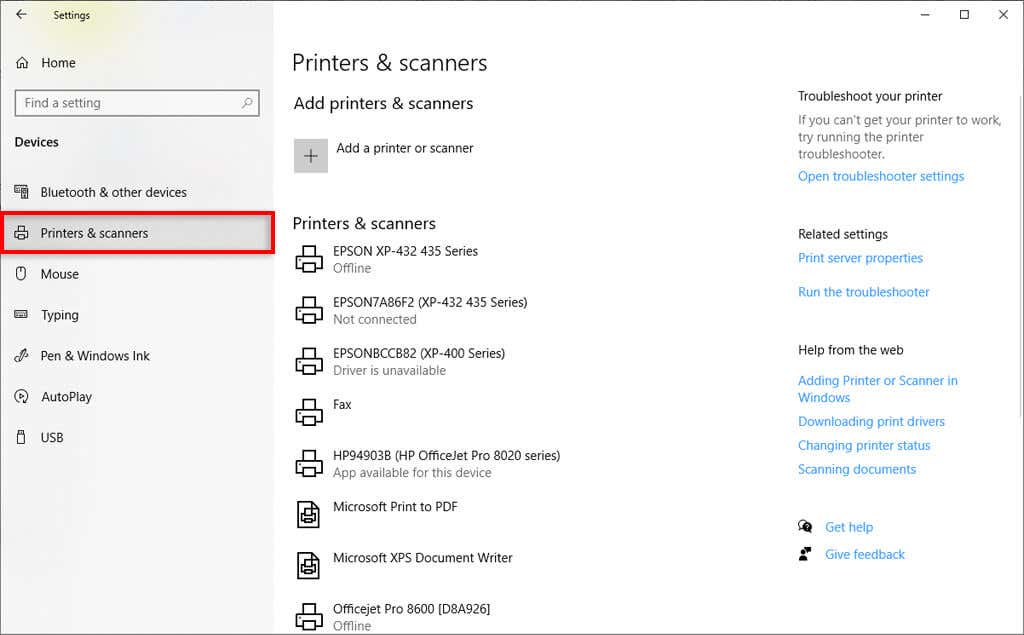
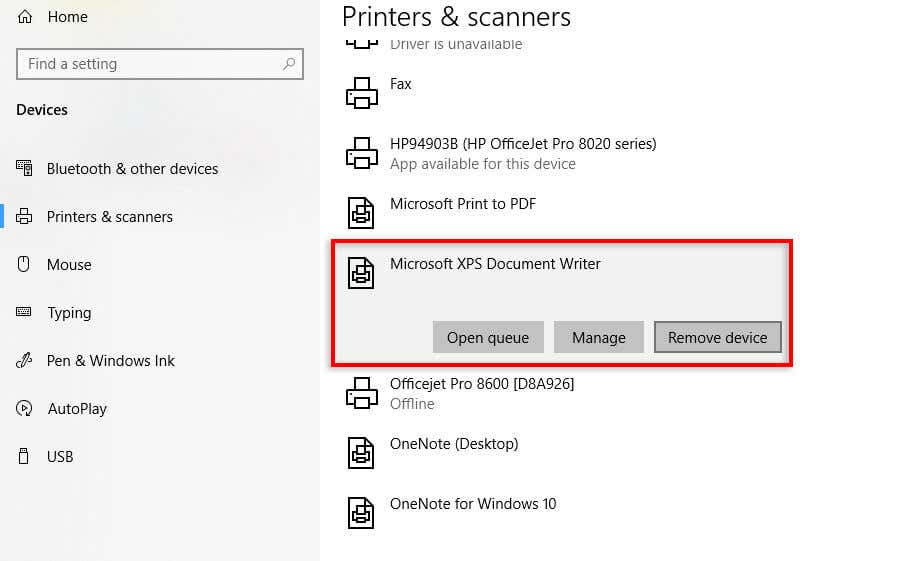
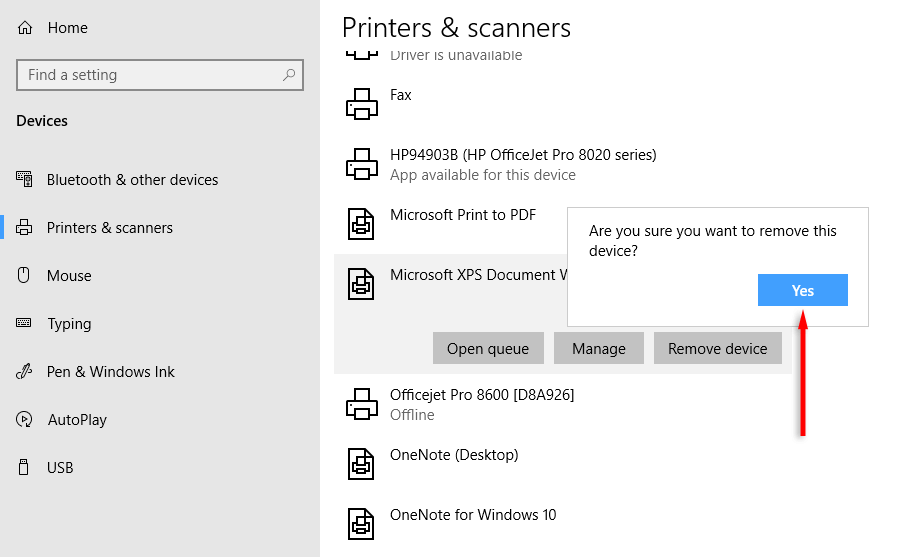
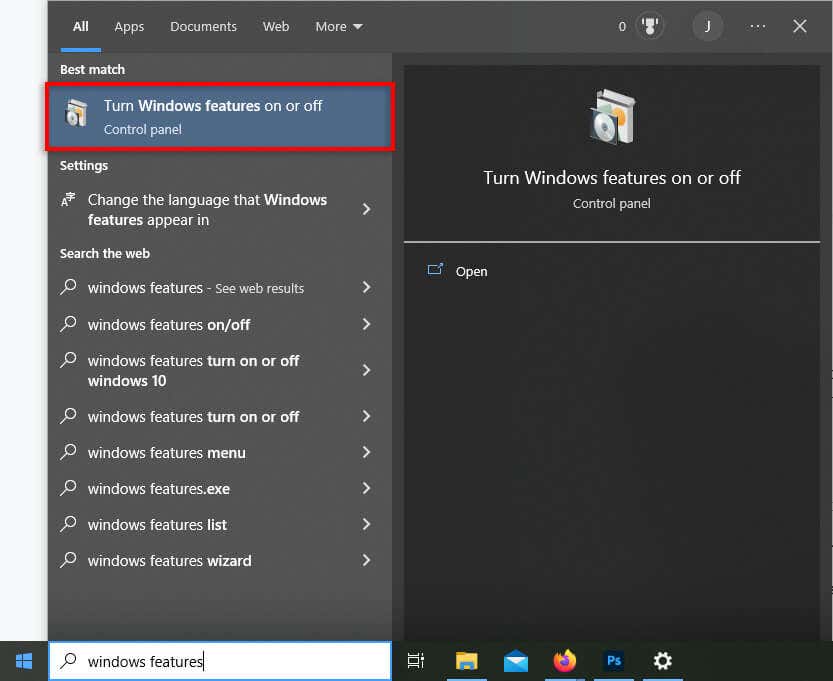
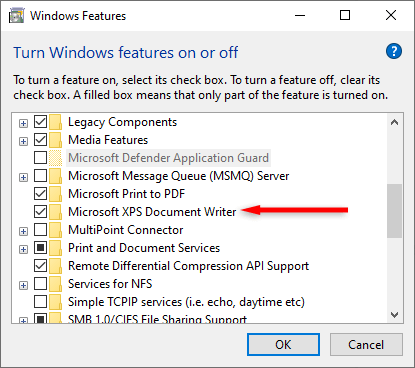
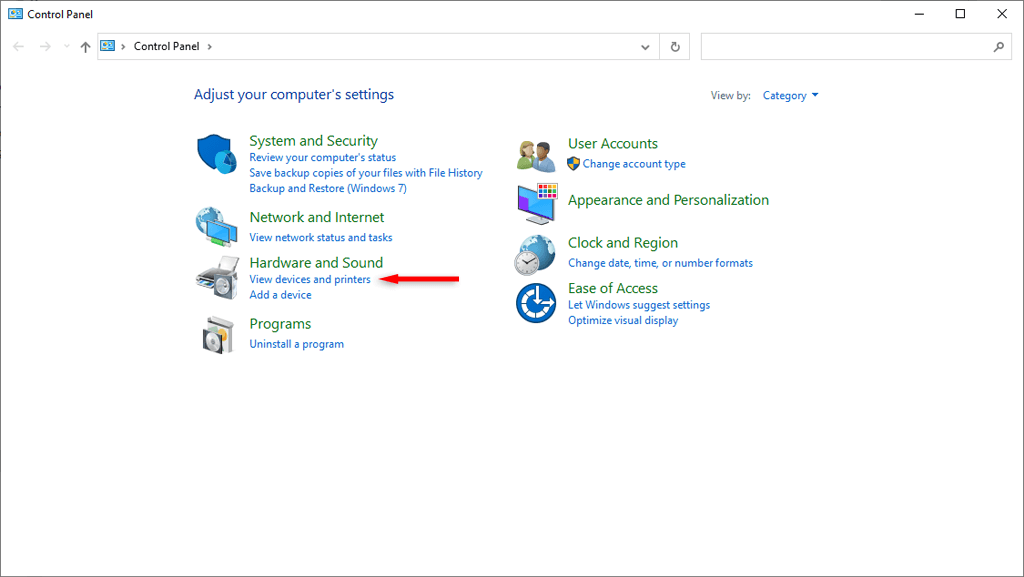
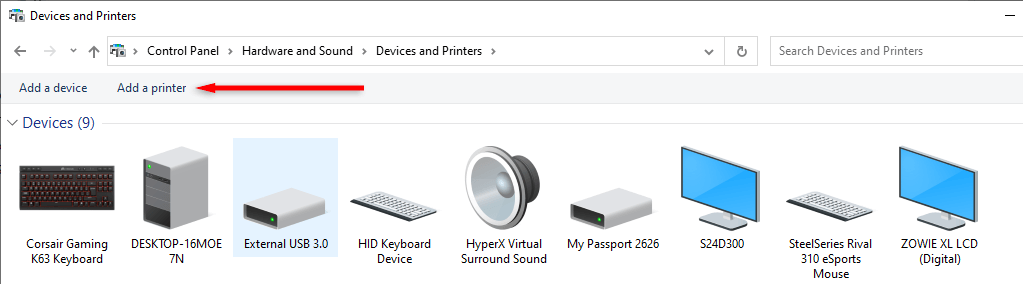
To remove the Microsoft XPS Document Writer from the printer dialog box: Note: Alternatively, you can head to the Control Panel > Programs and Features > Turn Windows Features on or off. Here, right-click Microsoft XPS Document Writer and select Remove device. To uninstall the XPS Document Writer entirely: Note: To reinstall the Microsoft XPS Document Writer, simply repeat the steps above and tick the checkboxes (rather than unchecking them).
How to Add Microsoft XPS Document Writer (If It’s Missing)
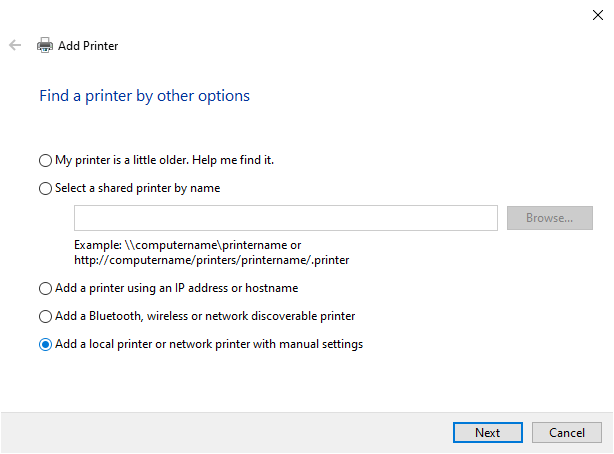
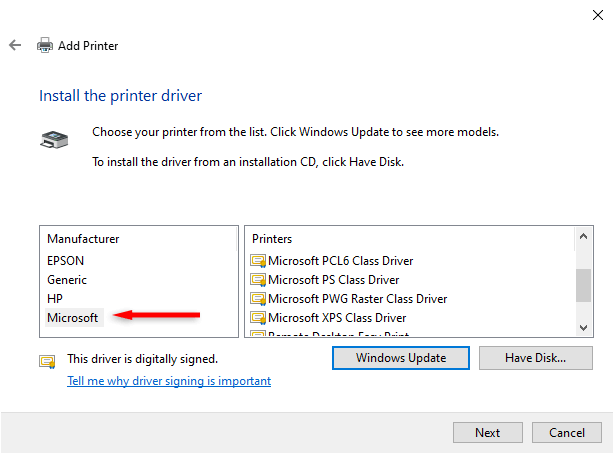
If you can’t find the Microsoft XPS Document Writer, you may need to add it as follows:
XPS vs PDF: Which Should You Use?
PDF remains the go-to choice for fixed-layout file formats. It’s the industry standard, and many more programs provide support for PDF over XPS. Even though Microsoft has continued to provide support for XPS files, most users will never use this optional feature. However, while there’s no real need for XPS files or the Microsoft XPS Document Writer, there’s also no pressing reason to delete them from your PC.