Google does not provide a non-browser-based file client for Linux users. But there are several free and low-cost tools to help you. Below are three methods you can choose to follow.
ODrive (Open Drive)
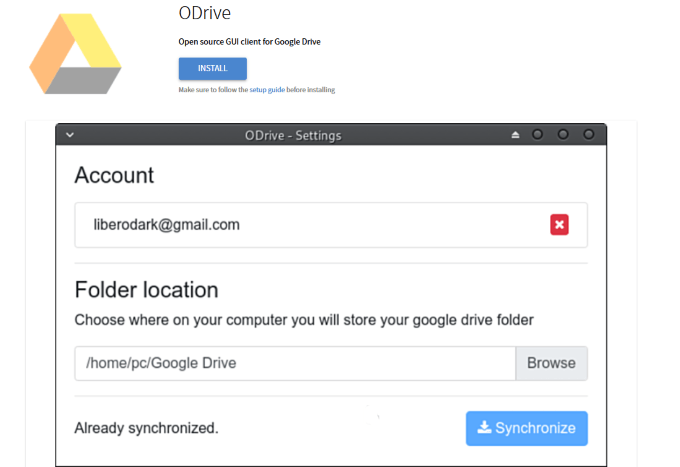
ODrive is an open-source graphic user interface client to sync or backup Ubuntu to your Google Drive. There is no need to open a web browser or use terminal tools. It’s simple, as there are no options, settings, or integrations to understand and master.
Installation & Setup
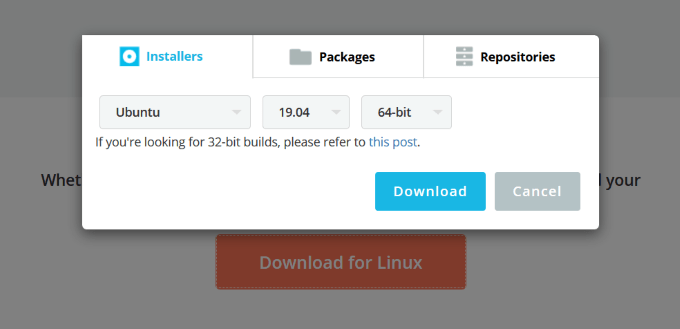
To install, go to ODrive and click install.
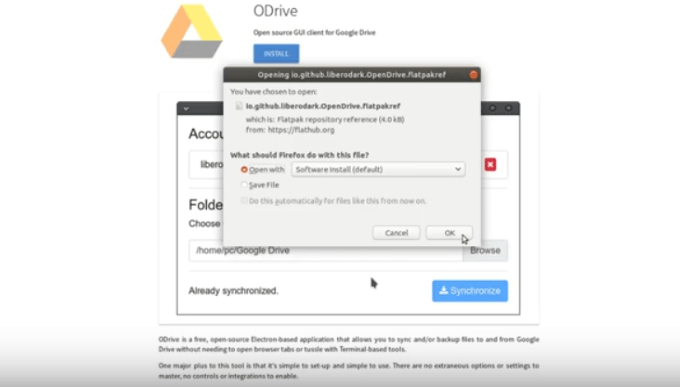
You will now see a dialogue box asking if you want to install the flatpack application. Select OK.
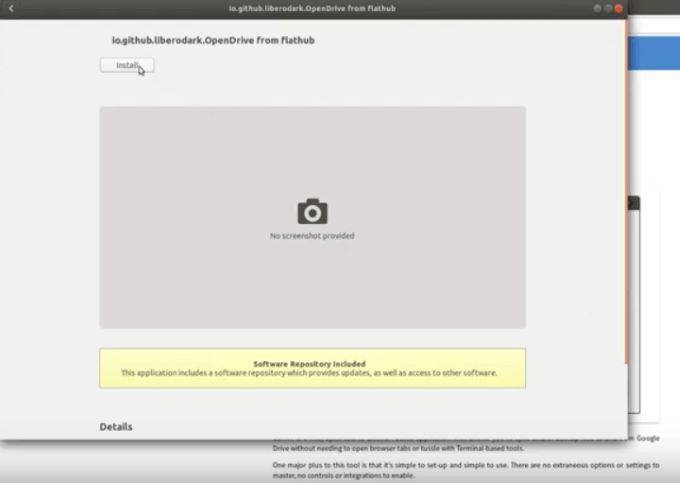
You will now see that the software repository is included with the flat-pack application. Click install next.
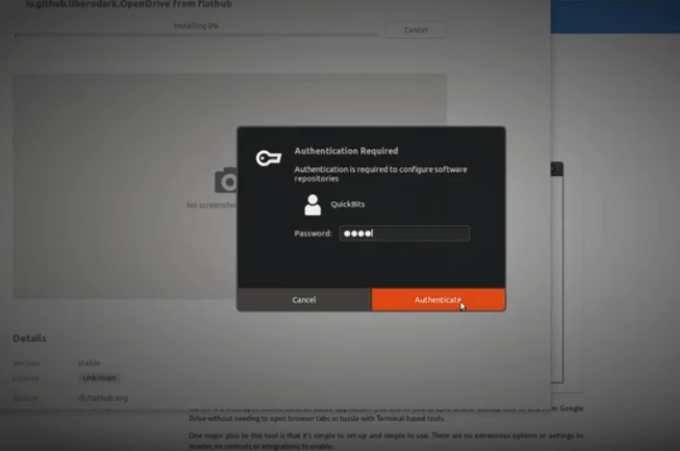
The next step will ask you to authenticate your account using your Sudo password (your root account password). Click authenticate.
Once the download and installation are complete, press the super key or Windows key on your keyboard.Type ODrive into the search box.
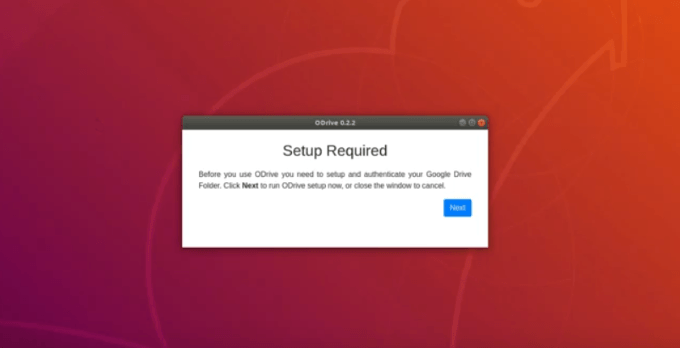
Click on Open Drive. You will see that ODrive is now running and needs to be set up.
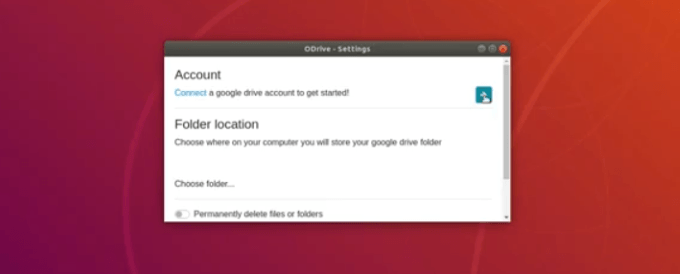
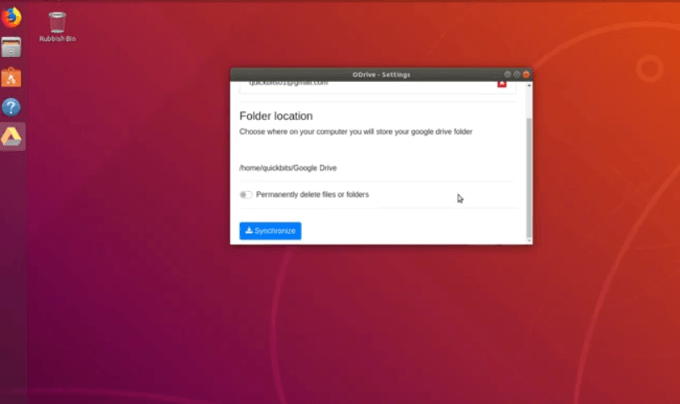
Now you need to set up and authenticate your Google Drive. Click next to run the ODrive setup. Connect your account and select the folder location where you want to store your Google Drive data.
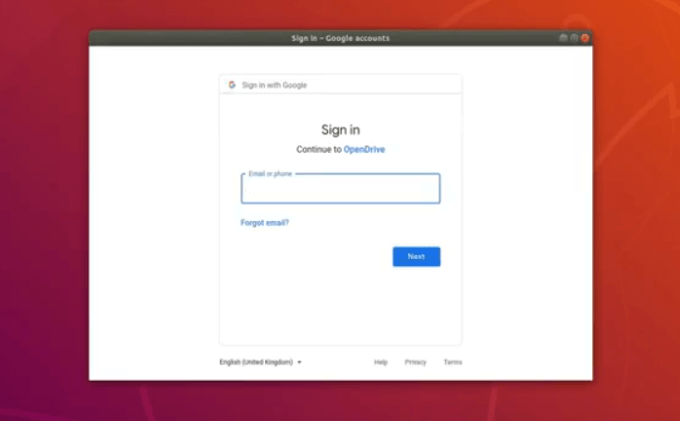
After you have completed your ODrive settings, you will need to sign into your Google Drive account.
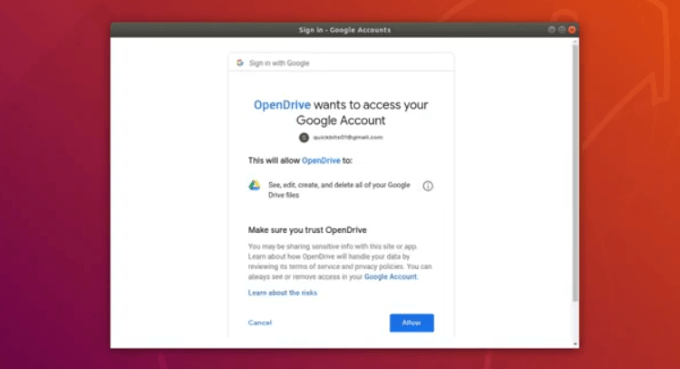
ODrive will ask you if it can have access to your Google account. You want to allow it.
You will now see that your account has been added to your Drive and also made a directory on your Linux machine.
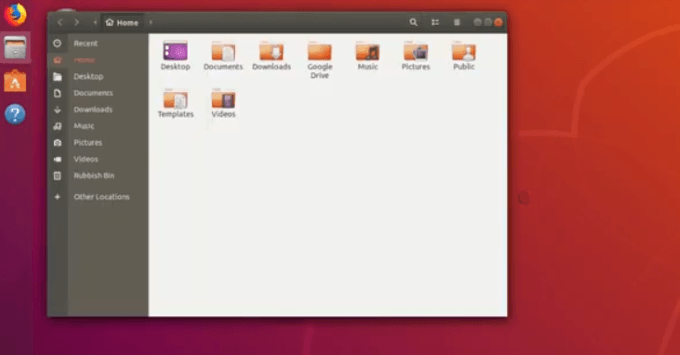
Click the synchronize button to sync your Google Drive data with your Linux machine.To verify that your syncing was completed correctly, look inside your home folder. You will see that there is a folder in your file manager that says Google Drive. Double click on the Google Drive folder to see your files inside.
However, there is a downside to this simplicity. As it is a basic option, you can’t use selective sync and can’t exclude specific files from downloading. You can only sync ALL your Google Drive files to your computer. You have an all or none option – sync all or none of them. If you need the ability to customize which files you sync, this will not be the best solution for you. Here is an option to customize which files to sync to your Google Drive. The steps below outline how to use Insync.
Insync
Insync is a tool for both new and more advanced Linux users. It offers both a command-line interface (CLI) and a graphical user interface (GUI). With Insync, you can:
Get desktop notifications.Use it with multiple accounts.Sync shared files.
The product is not free but comes with a 15-day free trial period. The pricing options (one-time fees) are:
Prime: $39.99 per Google account.Teams: $49.99 per Google account (includes Prime plus shared drives sync).
Follow the steps below to use Insync to sync your Ubuntu installation to your Google Drive.
Install Insync
Start by installing Insync on your computer by choosing the DEB installer. Be sure to turn off any Google Drive clients before running the program.
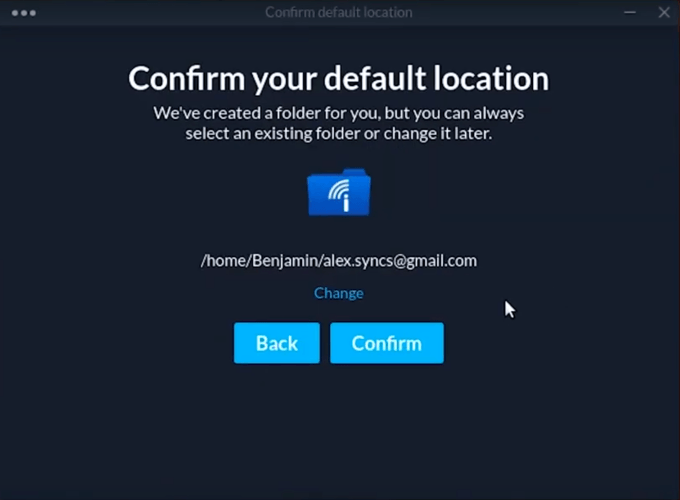
Now you are ready to install the program. During the installation process, you will be prompted to set up an Insync folder.
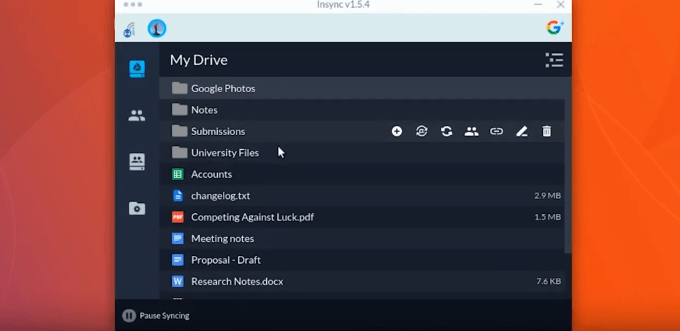
This Insync folder is where your Google Drive files will be located. Open the program. The first thing you will see is your Google Drive directory.
Insync doesn’t automatically sync your files when you install it. You will be prompted to identify the specific files you want to sync.
Choose The Files
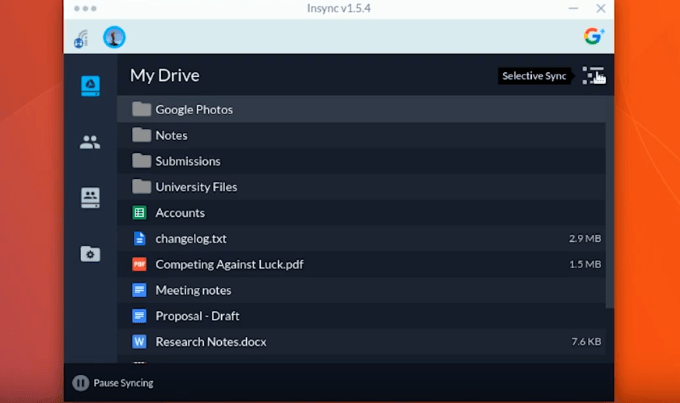
To start selectively syncing your files, click on the selective sync icon on the top right-hand corner of your dashboard.
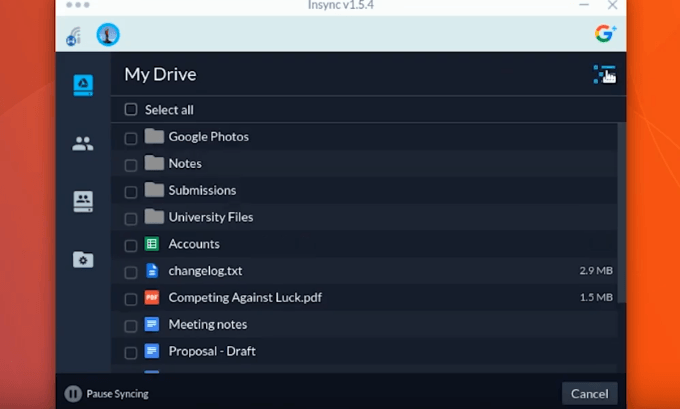
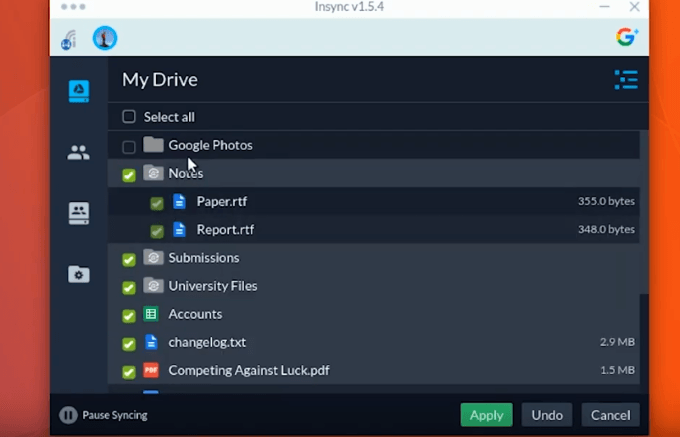
The next screen you will see is the selective sync mode. This is the screen where you can select the files and folders you want to sync.
If you want to sync specific files within a folder and not all of them, you can do that too. When you click on the folder, you will be able to see the sub-folders and files within that folder.
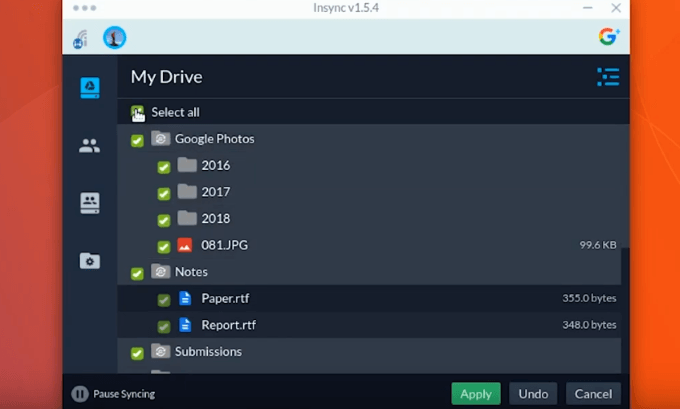
To sync your entire drive, click select all.
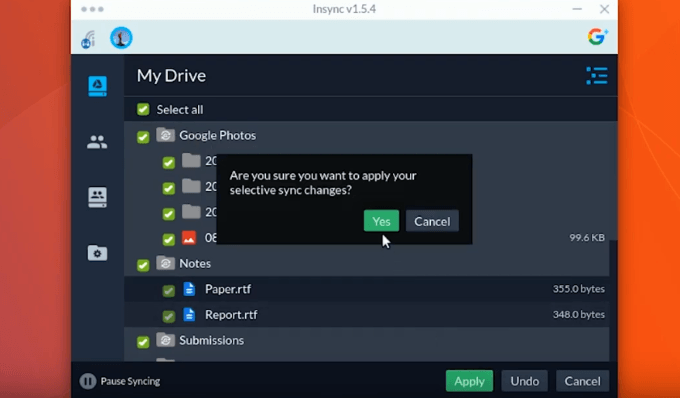
After you have selected the files and folders you want to sync to your Google Drive, click apply to move on to the next step.At this point, you will see a pop-up message asking if you are sure you want to apply your selective sync changes. If you are sure, click yes.
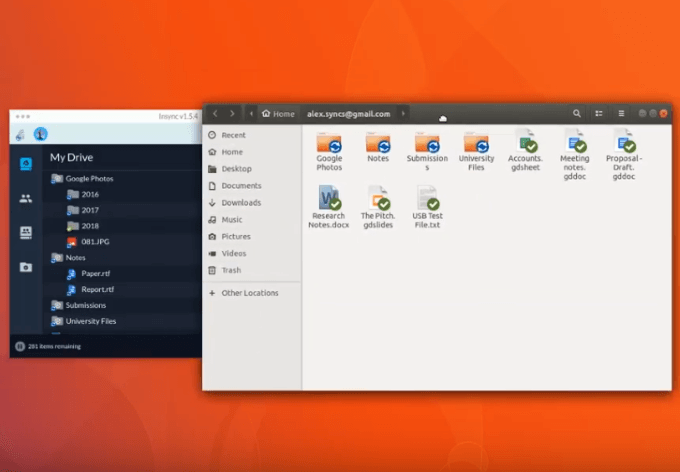
You will find your synced files and folders in your base folder.
Saving To a Location Outside Of Insync
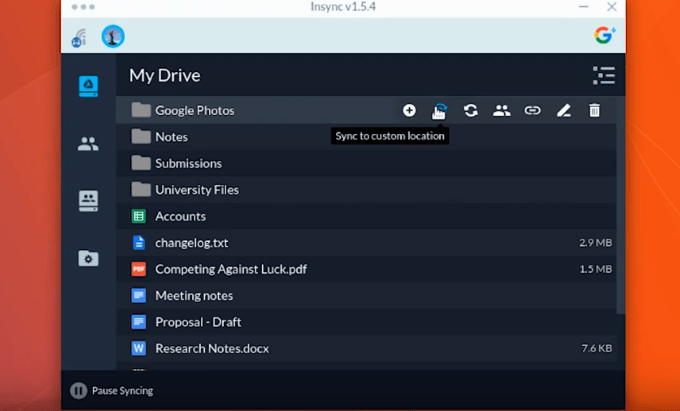
You can also save your Google Drive folder to a different location outside of Insync, but only for top-level folders. Go back to your Google Drive and hover your mouse over the folder you want to sync. Then click on the sync to a custom location icon as seen in the screenshot below.
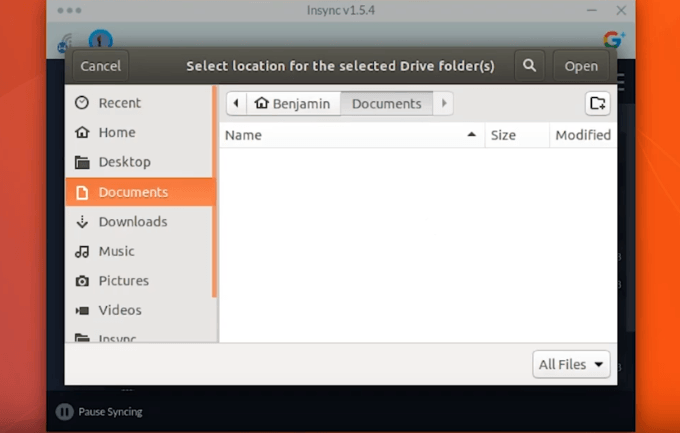
You will then see a menu prompting you to choose the location.
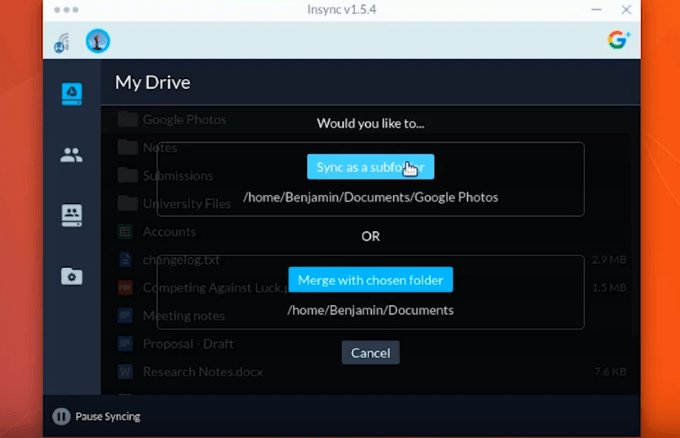
Once you have selected your folder, click open in the top right section of your dashboard. Then you will be given two choices. Your options are to sync it as a subfolder or merge it with another existing folder.
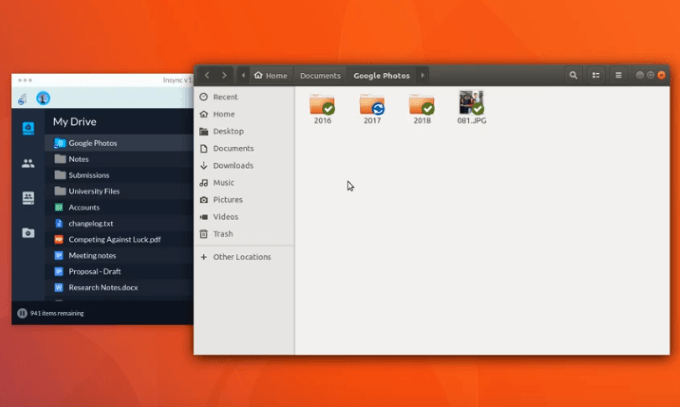
If you want to sync the file as a subfolder, click the blue button that says: Sync as a subfolder. You will then be taken back into your Google Drive. Open the location of the folder where you want to put the synced subfolder.The new folder will be created where your synced files are located.
Ubuntu GNOME Built-in Method
Another option to sync all your files is the Ubuntu GNOME built-in method. Follow the process below to sync your Google Drive with Ubuntu. You will be adding your Google account to your GNOME Online Accounts list. First, you will need to mount your Google Drive account to your Nautilus File Manager. Then you will be able to access, add, and edit your files.
Install & Open GNOME
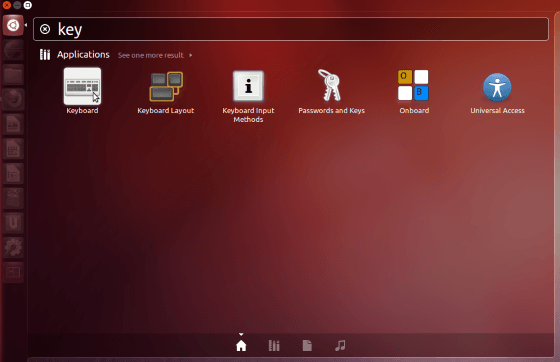
You will access your files on Google Drive through the Nautilus file manager. Start by installing the GNOME Control Center and the GNOME Online Accounts packages.Go to your Unity Dashboard or command line to open the GNOME Control Center.
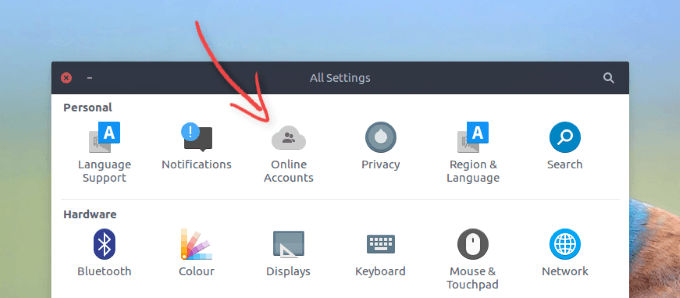
Type GNOME control center in the command line section. Then click on Online Accounts.
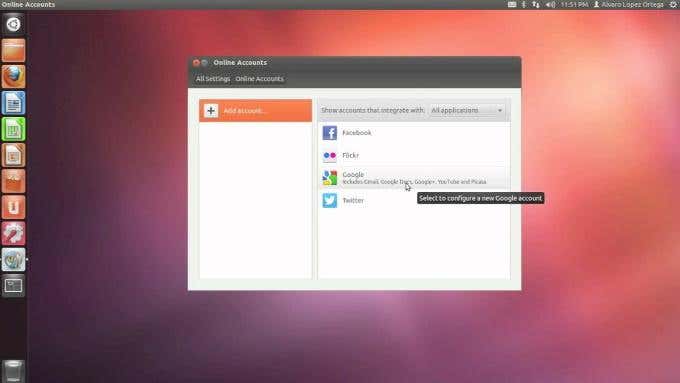
Click on add account. Then select Google and add your Google account details.
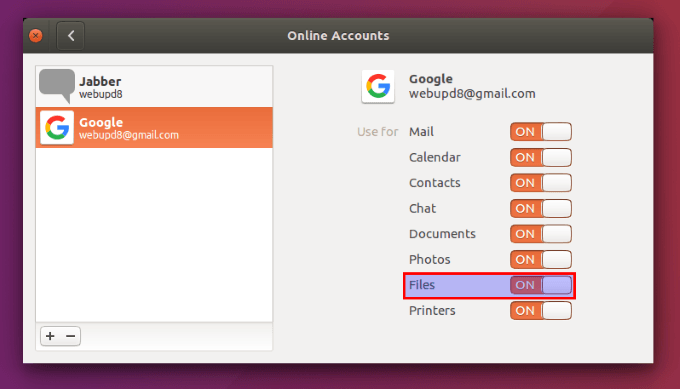
Next, you will be prompted to authorize access from GNOME so you can edit and get your Google Drive files.
Note that this process does not give you access to your Google Drive unless you are on the Internet. However, it is an easy and effective way to sync your Ubuntu in the cloud with your Google Drive. If you need to use a file offline, you can drag it from your Google Drive and to a local folder on your computer. Even though Google doesn’t have an official client for Linux users on Ubuntu to sync your files, as you can see from the three options above, there are simple ways to accomplish the same thing.
