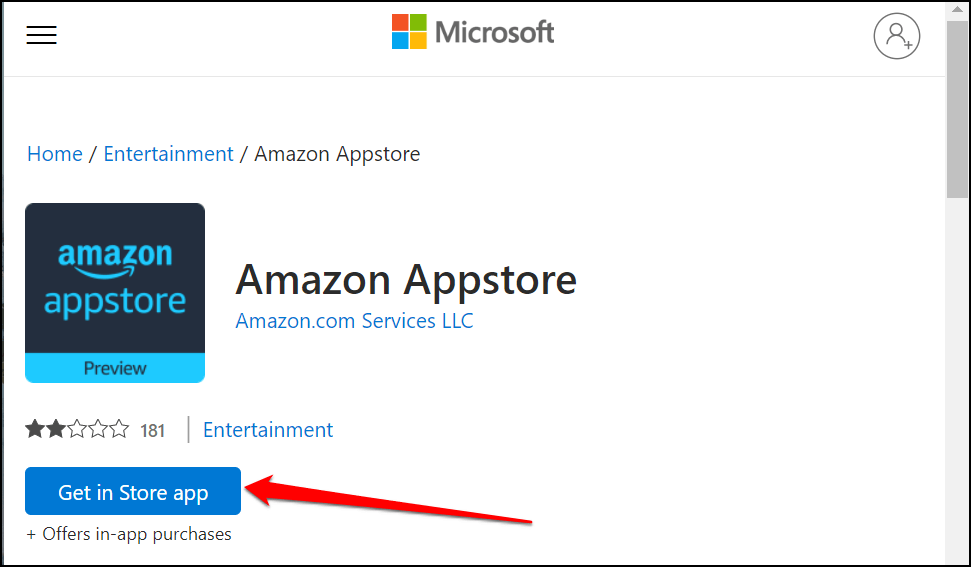
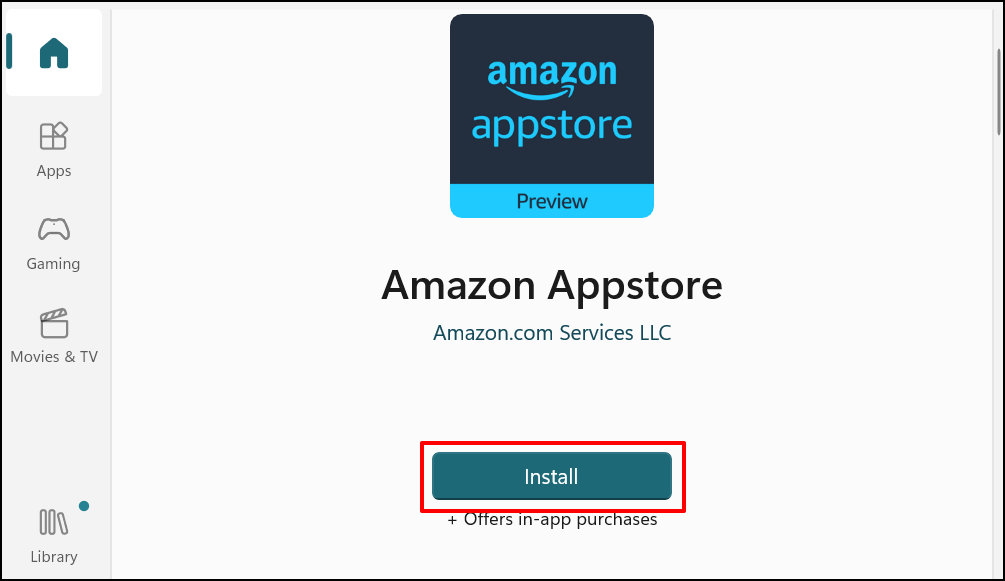
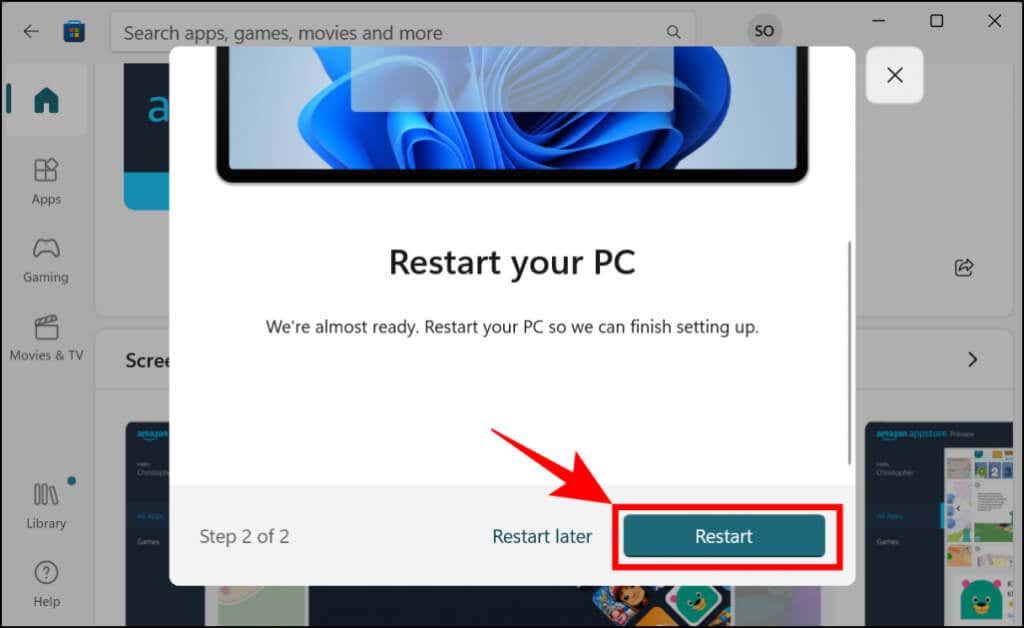
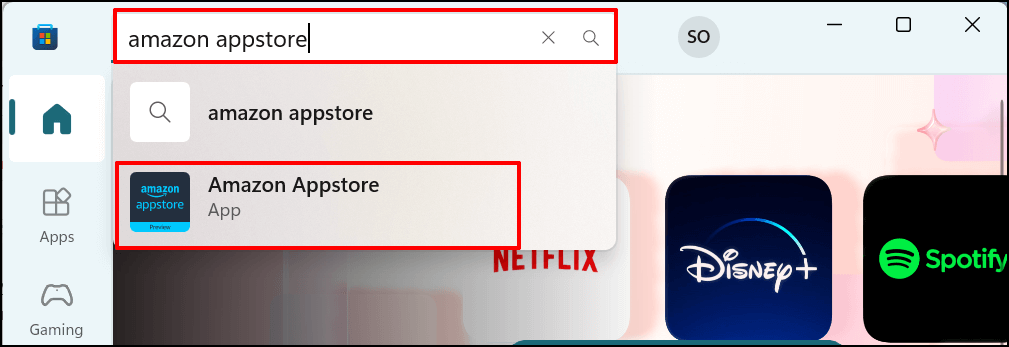
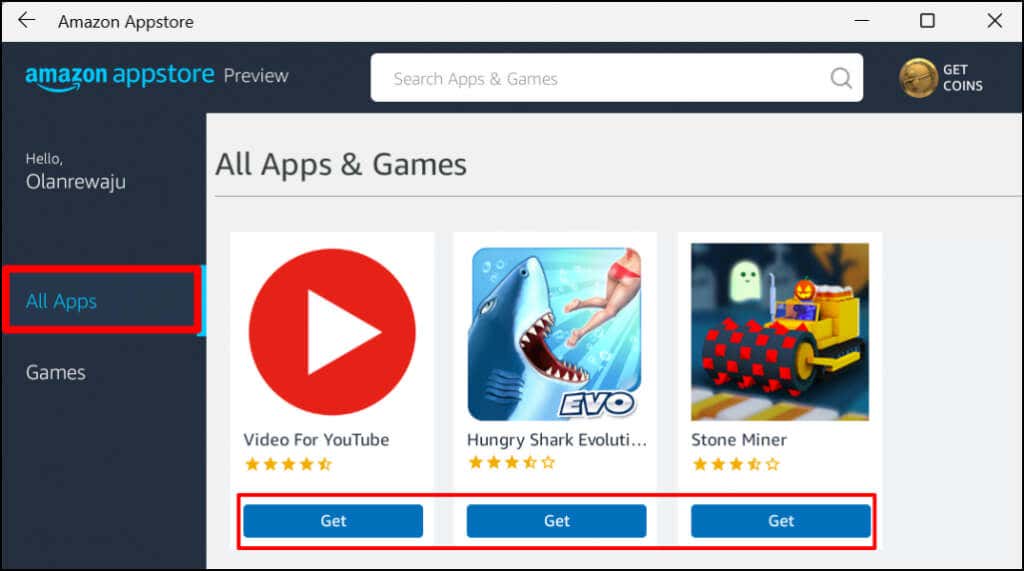
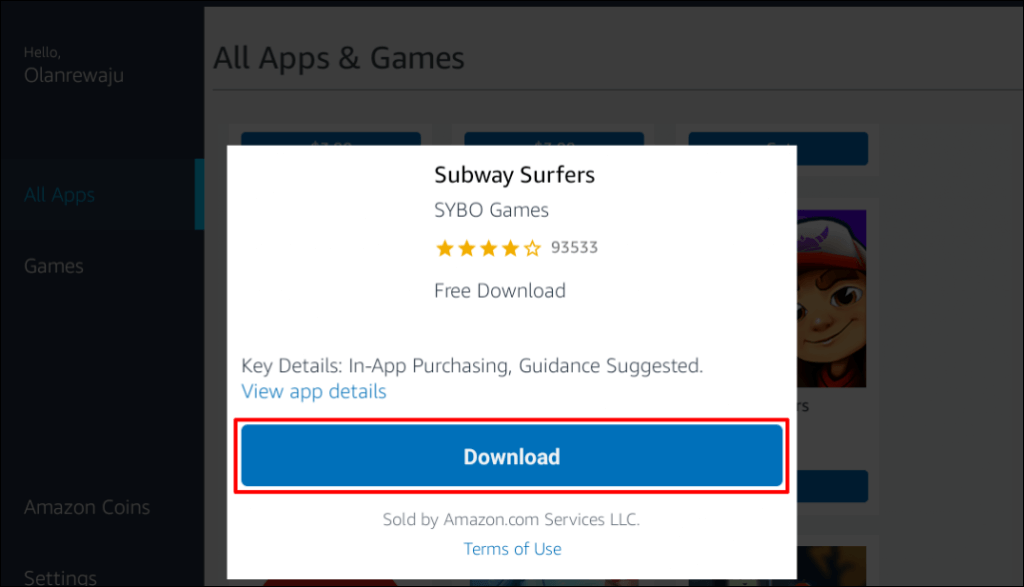
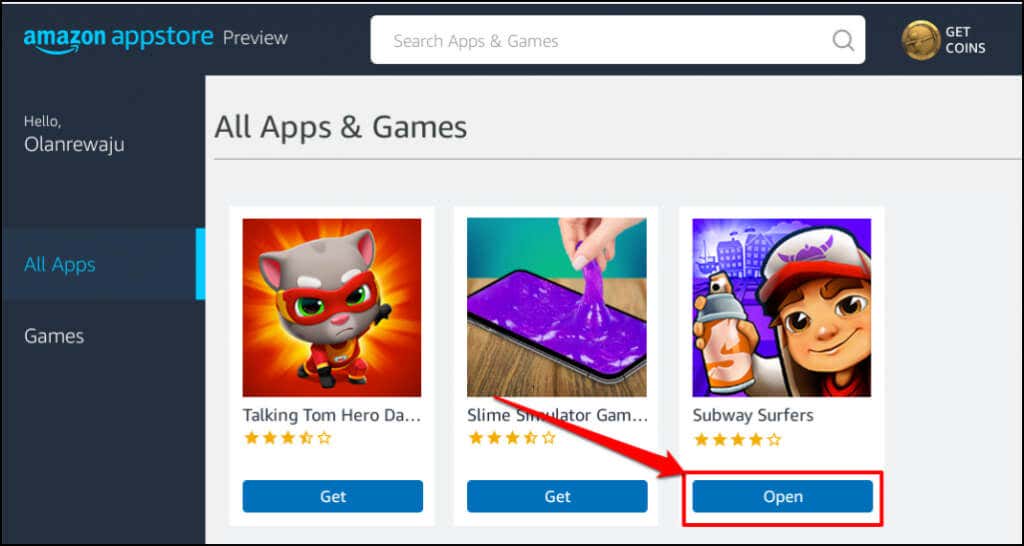
This tutorial covers everything you need to know about installing and running Android apps in Windows 11.
What Is the Windows Subsystem for Android?
Think of the Windows Subsystem for Android as an Android emulator or virtual Android phone on your computer. It provides everything required for Android apps to work smoothly in Windows 11.
Requirements to Install Android Apps in Windows 11
Windows 11 System Requirements
First, your computer must be able to run Windows 11. It must meet all Windows 11 storage, memory, CPU, graphics card, and system firmware requirements. Check out our guide to determining whether your PC can run Windows 11 for more about these requirements.
Microsoft Store Requirements
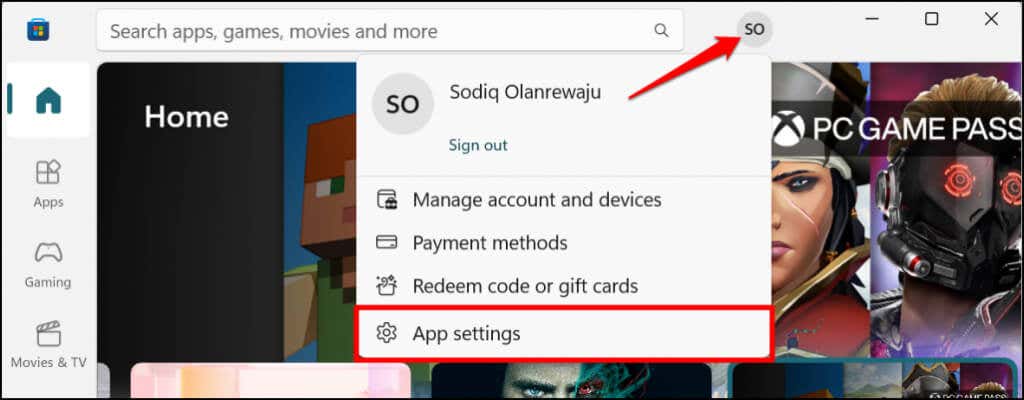
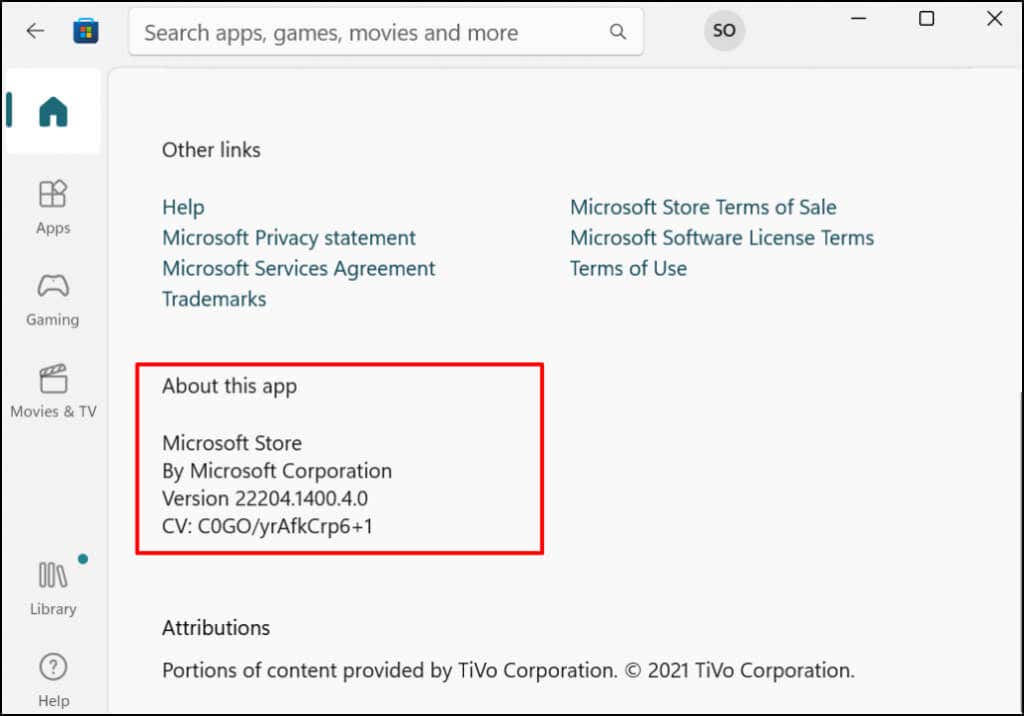
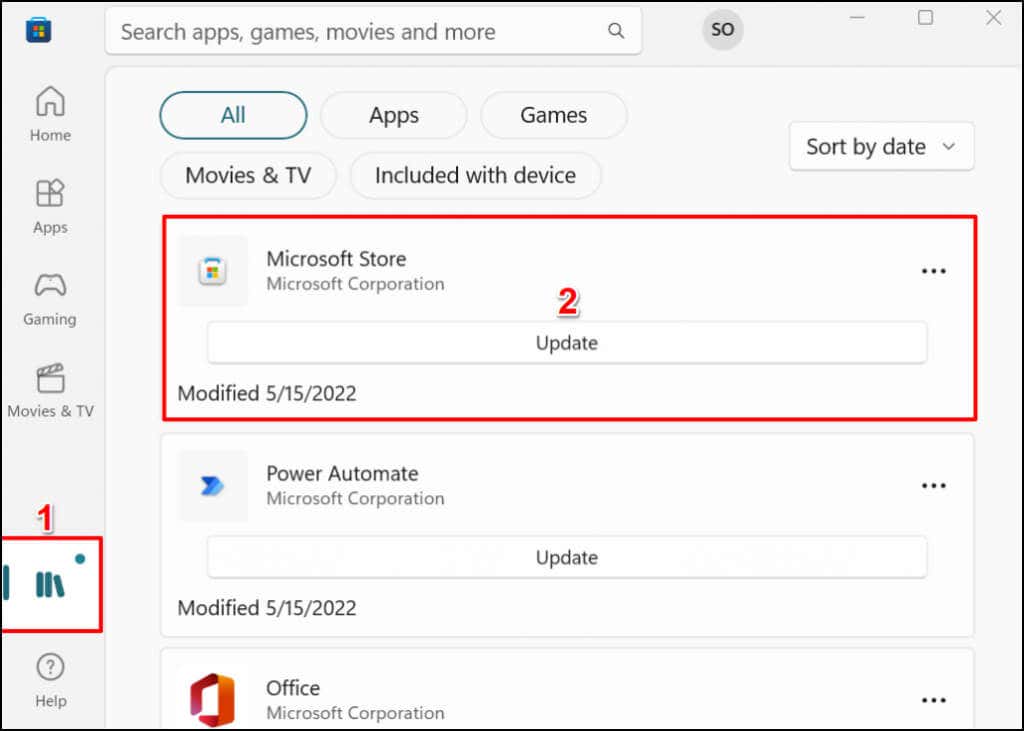
Here’s how to check your PC’s Microsoft Store version: Proceed to the next step to update Microsoft Store if it’s older than the version required to install Android apps. Restart your computer afterward to update Microsoft Store to the latest version.
Location Requirements
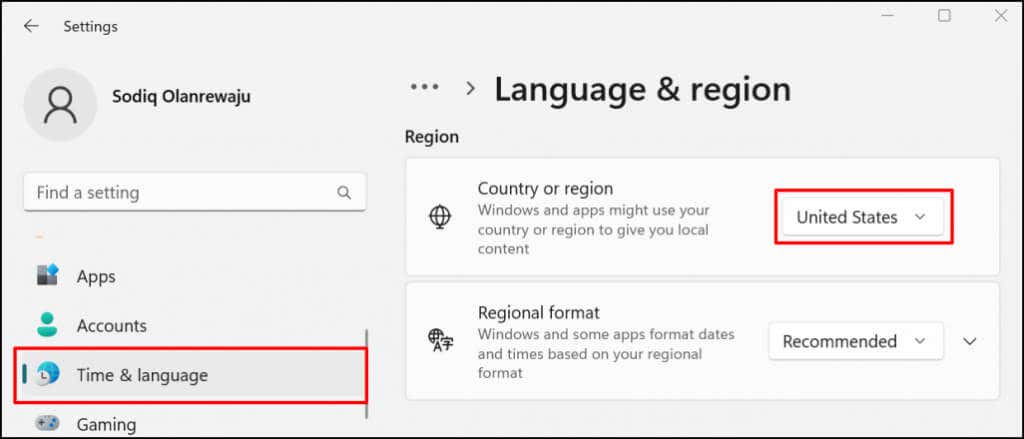
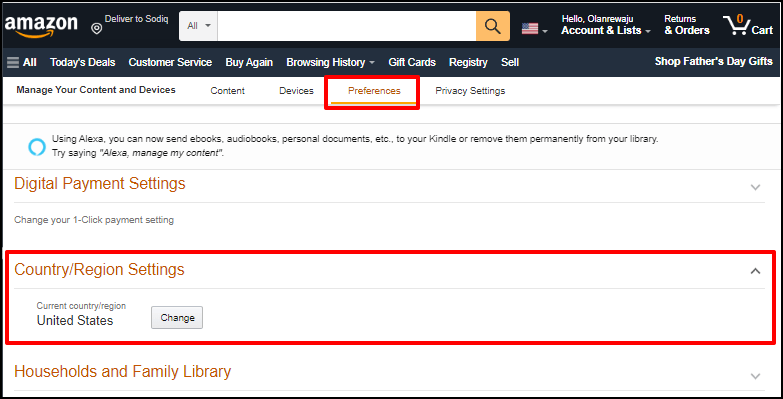
Go to Settings > Time & language > Language & region, scroll to the “Region” section, and set United States as your region.
UEFI or BIOS Virtualization
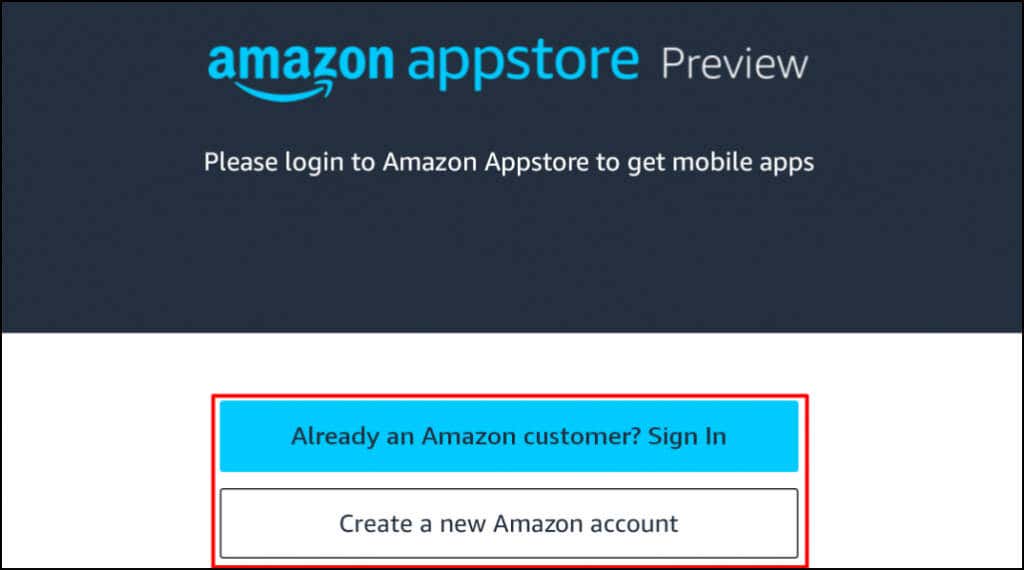
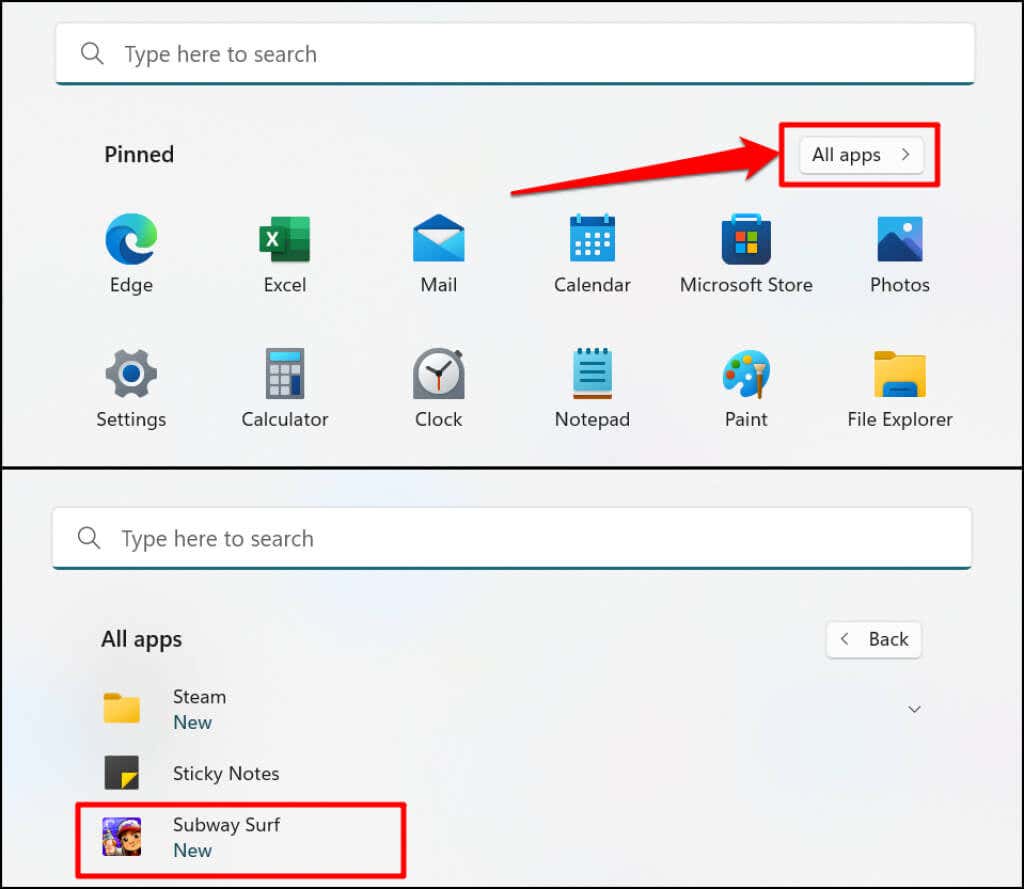
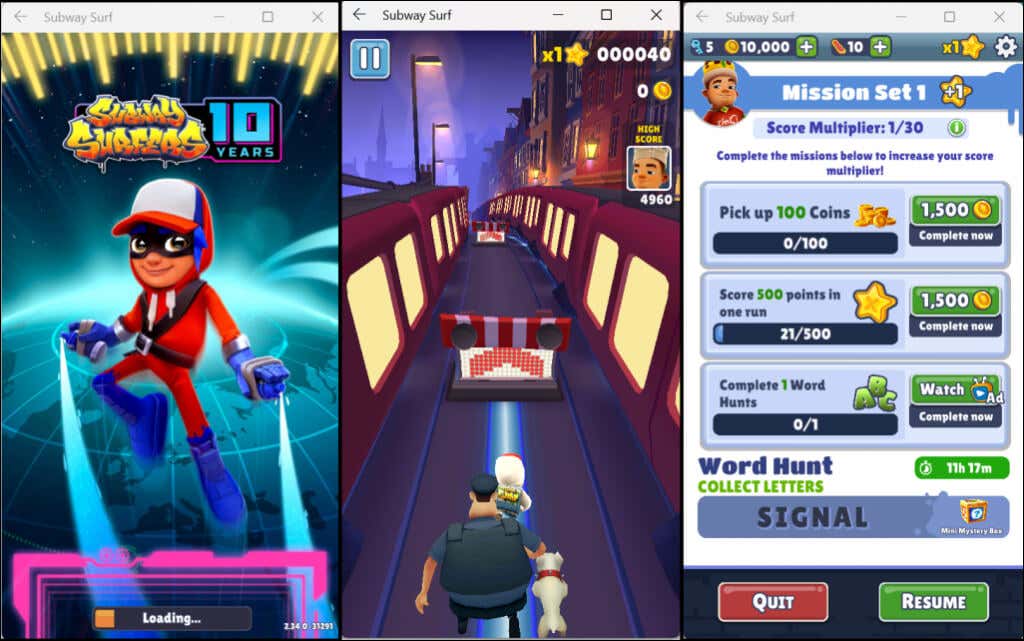
Virtualization is a technology in Windows that allows you to run a different operating system in Windows. Computers running Windows 10 or Windows 11 pre-installed have virtualization enabled by default at the UEFI or BIOS level. If your computer didn’t come pre-installed with Windows 10 or 11, refer to this tutorial on enabling virtualization in Windows. This tutorial had detailed instructions for enabling hardware virtualization on computers with Intel or AMD processors. You can also open the app from the Start Menu or Windows Settings. Press the Windows key on your keyboard, select All apps, and select the app. Windows opens Android apps installed through the App Store in portrait orientation, similar to a smartphone screen. You don’t get the typical Android 3-button navigation (home, back/return, and app switcher) at the bottom of Android apps. However, you’ll find the minimize, maximize, and close buttons on an app’s title bar—just like every Windows app. Again, Windows handles Android apps like regular Windows-based programs. You can pin them to the Start menu and Taskbar. Likewise, Android apps receive input from your mouse, touchpad, touchscreen, keyboard, and stylus pen. Notifications from Android apps are accessible in the Windows Notification Center (Windows key + N). You can switch between apps in the Windows Task Switcher (Alt + Tab). Android apps can also access the content on your PC’s clipboard.
Manage the Windows Subsystem for Android
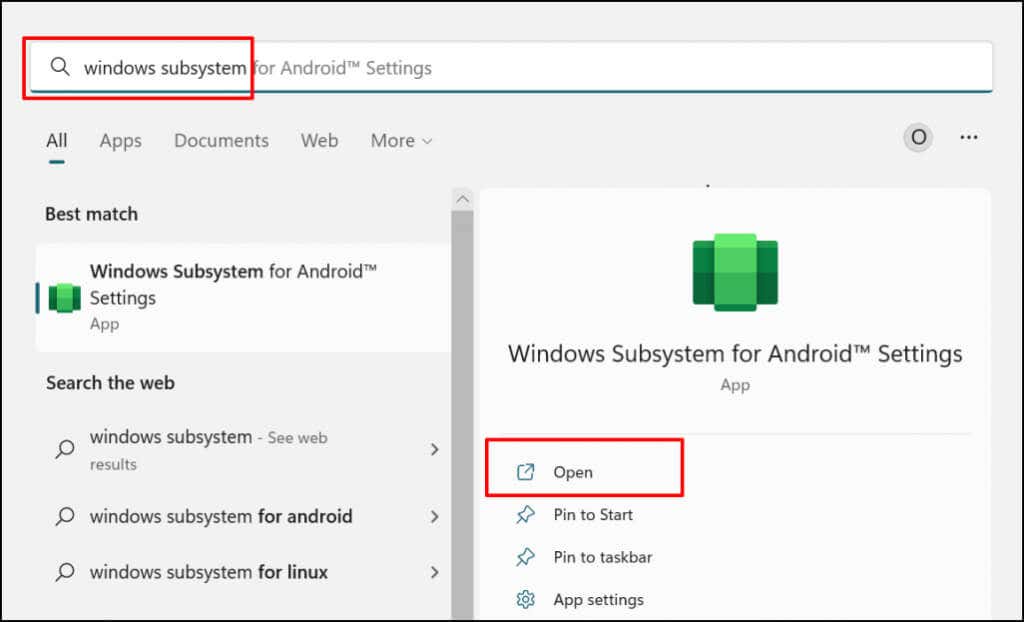
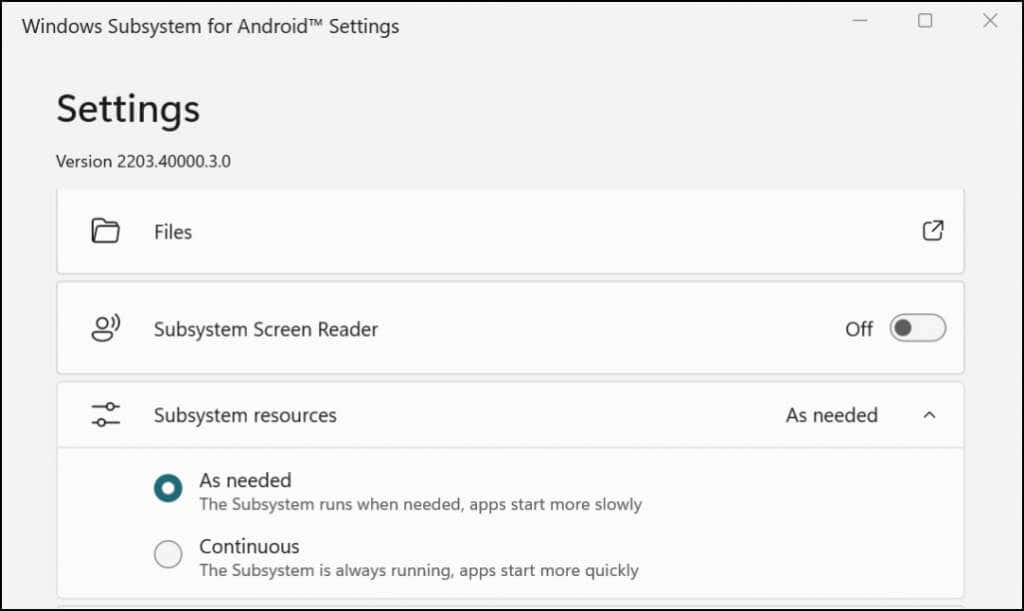
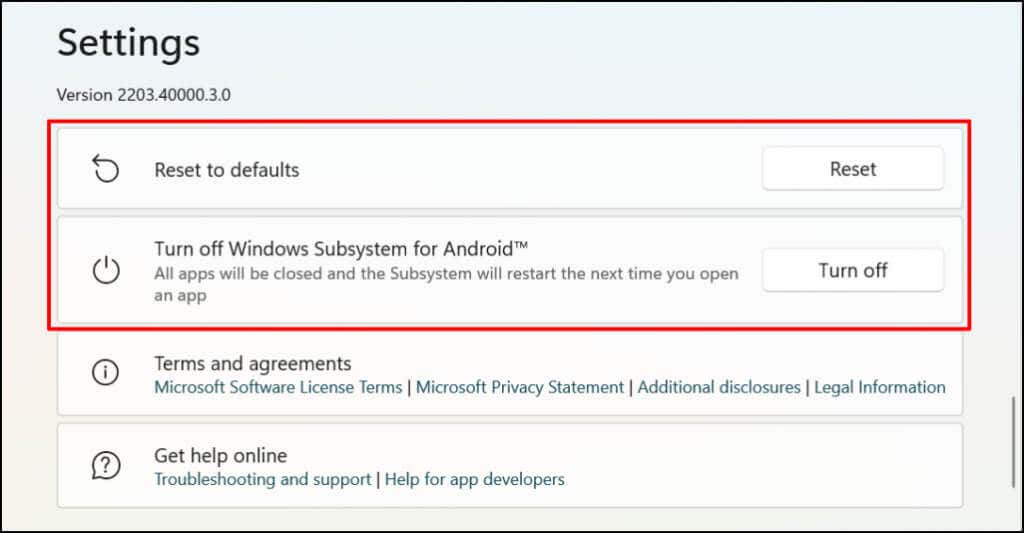
Windows lets you customize how the Windows Subsystem for Android functions and utilizes system resources on your computer. Type windows for android in the Windows Search bar and open the Windows Subsystem for Android Settings app. Select Files to open the file management portal for Android apps. That’ll open the Android file management interface where you can manage multimedia files and documents downloaded by Android apps. In the “Subsystem resources” section, select As needed if you want the Windows Subsystem running only when using Android apps. That’ll help save your PC’s battery life, but apps may boot slowly. If you choose to leave the Subsystem running continuously, turn it off if you aren’t running any Android app. Scroll to the bottom of the Windows Subsystem for Android Settings app and select Turn off Windows Subsystem for Android.
How to Uninstall Android Apps in Windows
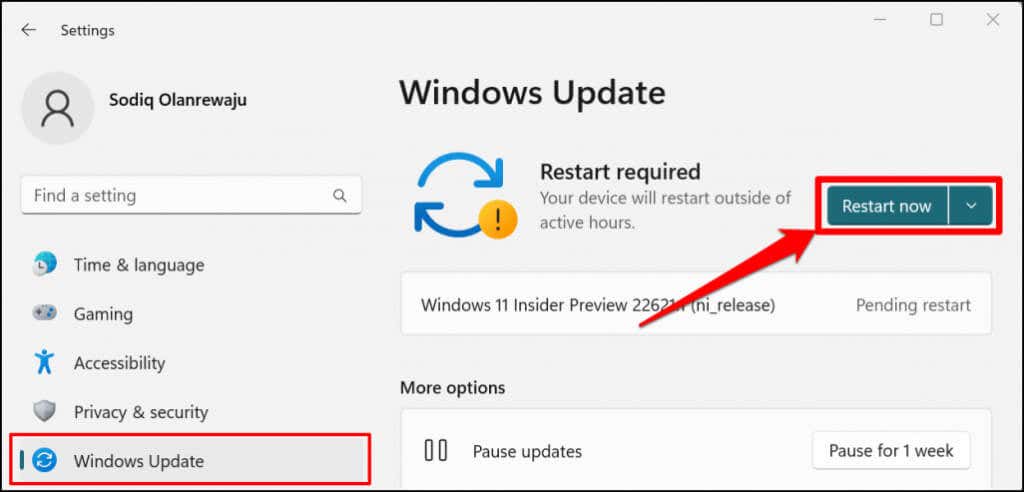
You can remove Android apps from the Start menu, Settings app, and Control Panel. Third-party uninstaller programs can also uninstall Android apps from your computer. Refer to our comprehensive tutorial on uninstalling Windows 11 apps for detailed instructions. Go to Settings > Windows Update and select Check for Updates to install the latest Windows update on your PC. Select Restart now to install previously downloaded Windows Updates.
Enjoy the Windows-Android Harmony
