We’ll show you how to add bullet points in Word to existing text, start a new list, and change the bullet style to fit your needs.
Add Bullet Points to Existing Text
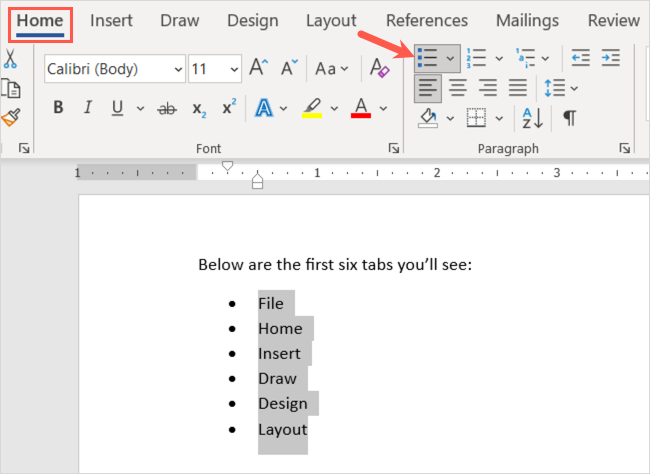
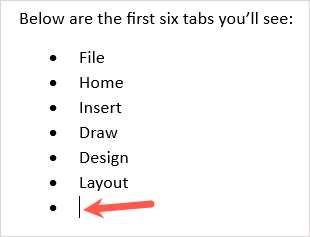
If you already have items in your document that you’d like to turn into a bullet list, you can do so in just a few steps. You’ll then have your items listed neatly in a bullet list. You can continue to add more items as well. Place your cursor at the end of the last item and press Enter or Return. Your cursor will drop down to the next line with a bullet point in place, ready for you to add your next item.
Start a New Bullet List
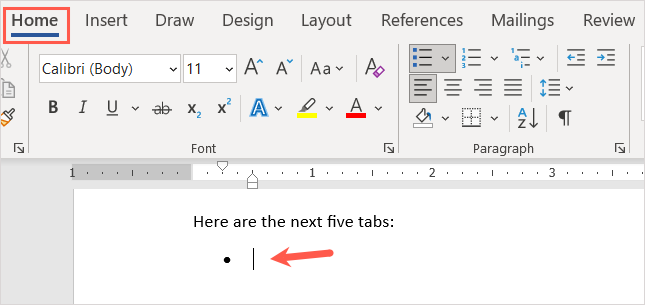
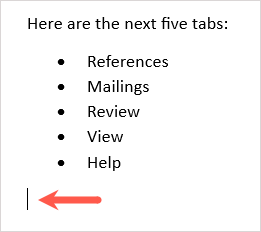
If you want to start a new list, insert the first bullet point, type your item, and then continue adding more. When you arrive at the last bullet point, press Enter or Return two times. This places your cursor on a new line without a bullet point.
Create an Automatic Bullet List
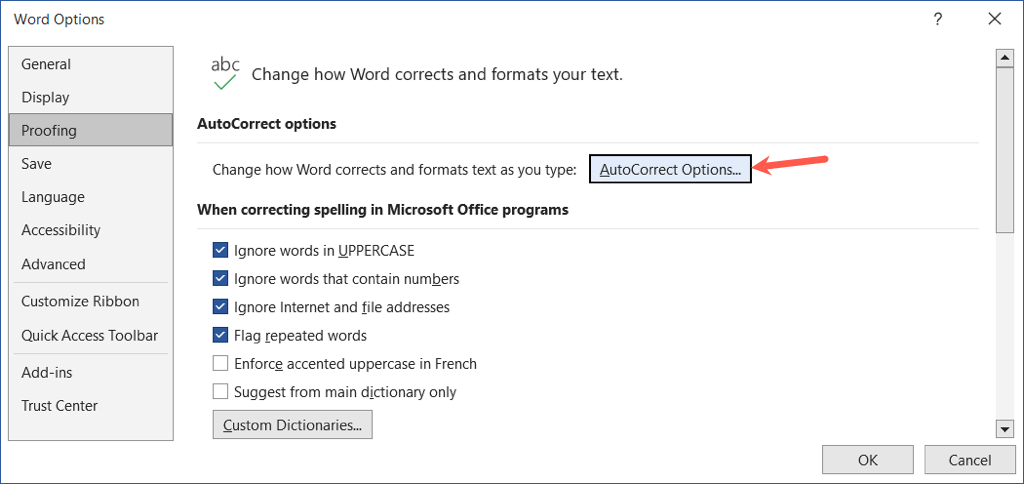
Microsoft Word offers AutoCorrect options that format your text as you type it. One of those options is to create bullet lists automatically. Once you turn on the feature, you can type an asterisk that converts to the default bullet style. You can also type a dash to start a list with dashes as bullet symbols. When you type an asterisk or dash moving forward, this automatically creates a bullet list format. If you want to undo the list format, select the arrow in the AutoCorrect Options button and choose Undo Automatic Bullets.
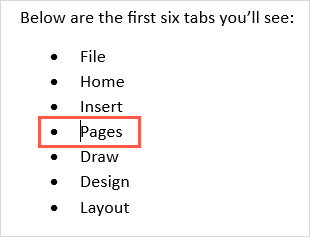
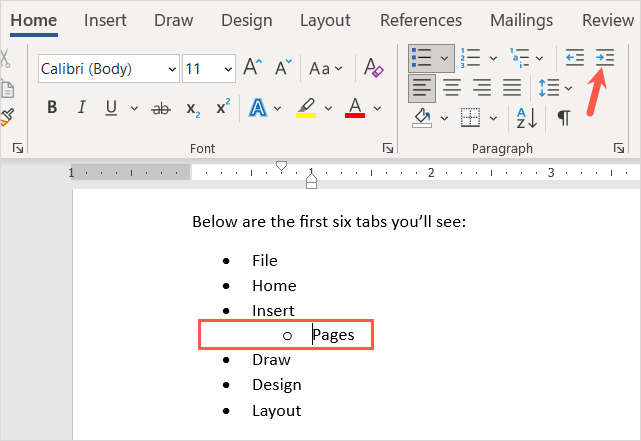
Add Sublevels to a Bullet List
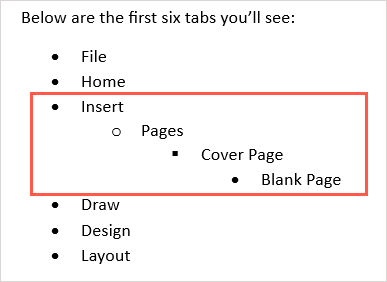
Whether you add bullets to existing text or start a new list, you can use different levels. This is similar to an outline where you have multiple levels that indent. You can continue to indent further using the same process and see a new bullet style each time. This lets you create a multilevel list with little effort.
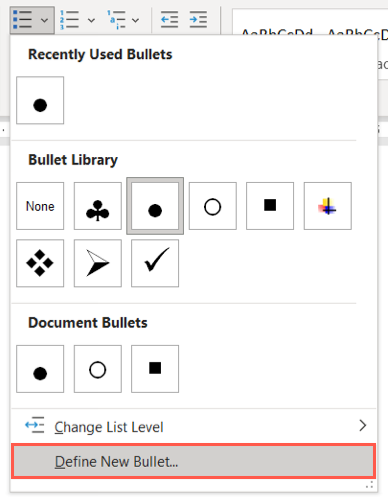
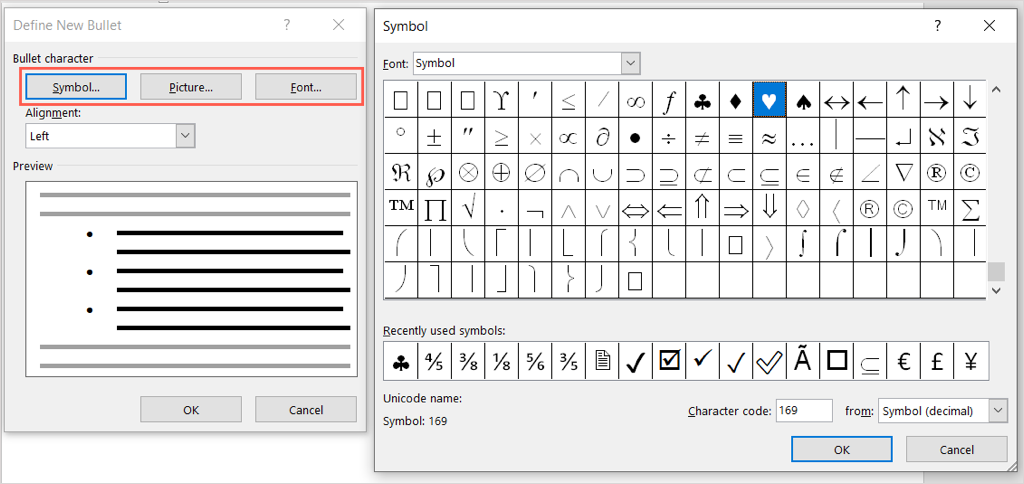
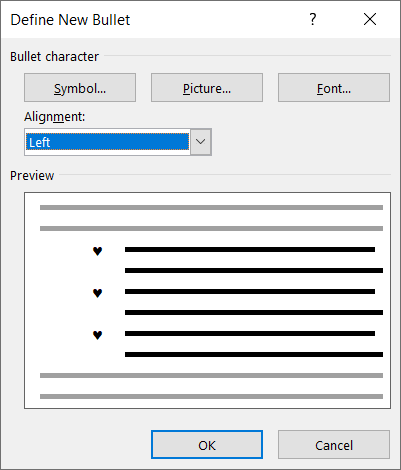
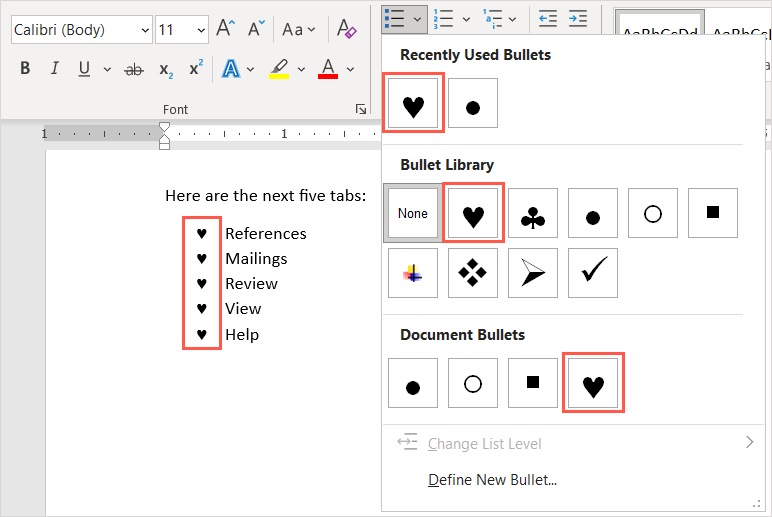
Customize the Bullet Style
You can create a custom bullet if you want to use something other than the default bullet styles. This is convenient if you want to use different symbols, characters, or images. You’ll then see your new bullet style in your document. You can also see it in the Bullets menu on the Home tab to use it in other spots.
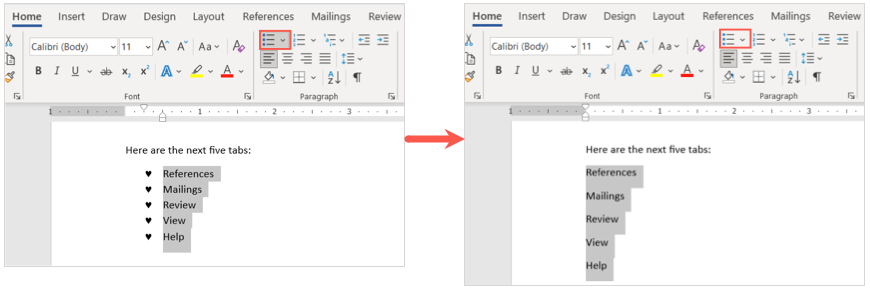
Remove Bullets From a List
If you decide to remove the bullet list later but want to keep your items, you can do this easily. Select all of the text in the bullet list. Go to the Home tab and choose the Bullets button. This deselects the bullet list format and removes the bullets from your text. When you insert bullet points in a Microsoft Word document, you’ll have a neat and professional way to display list items. Now that you know how to add bullet points in Word, look at our other Microsoft Office tutorials, like how to make a checklist in a Microsoft Excel worksheet.