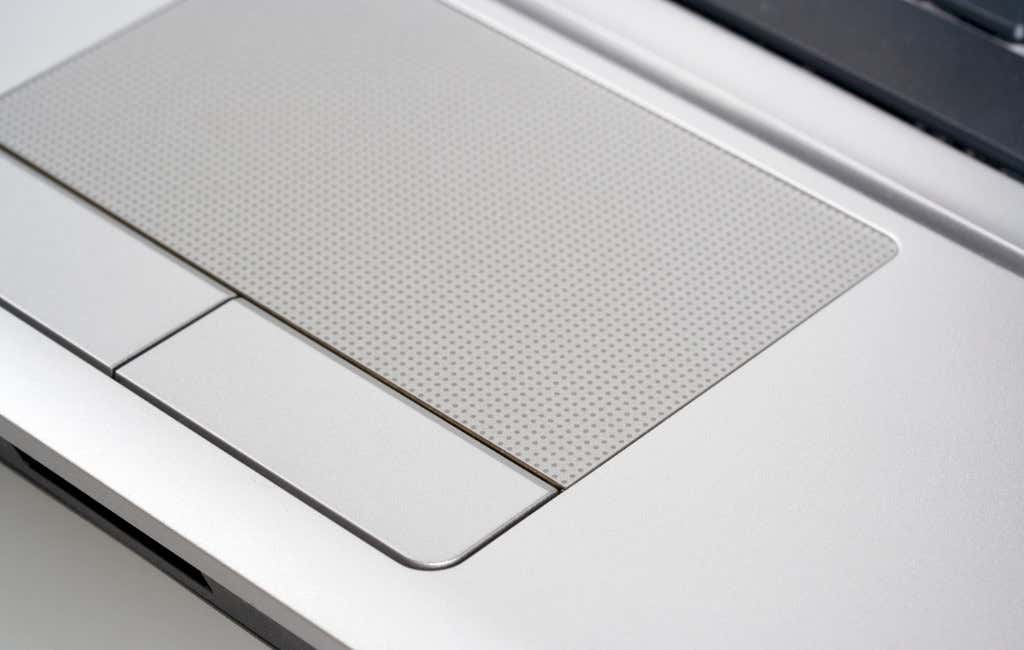
Work your way through the troubleshooting tips below to fix issues with touchpad not working in Windows. Meanwhile, you could connect an external mouse or activate Mouse Keys to navigate the operating system.
1. Turn On the Touchpad
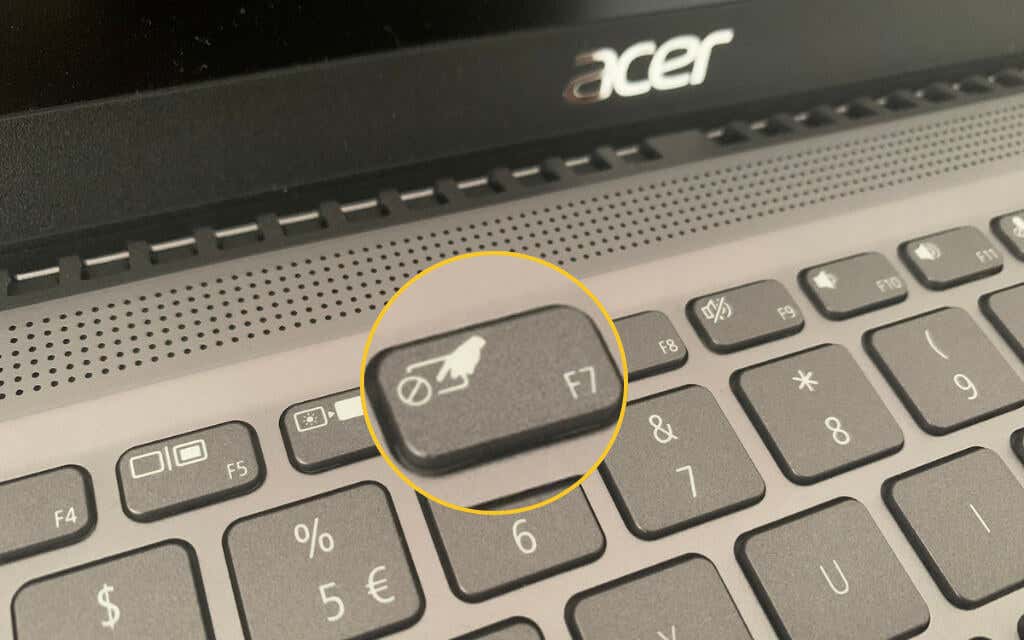
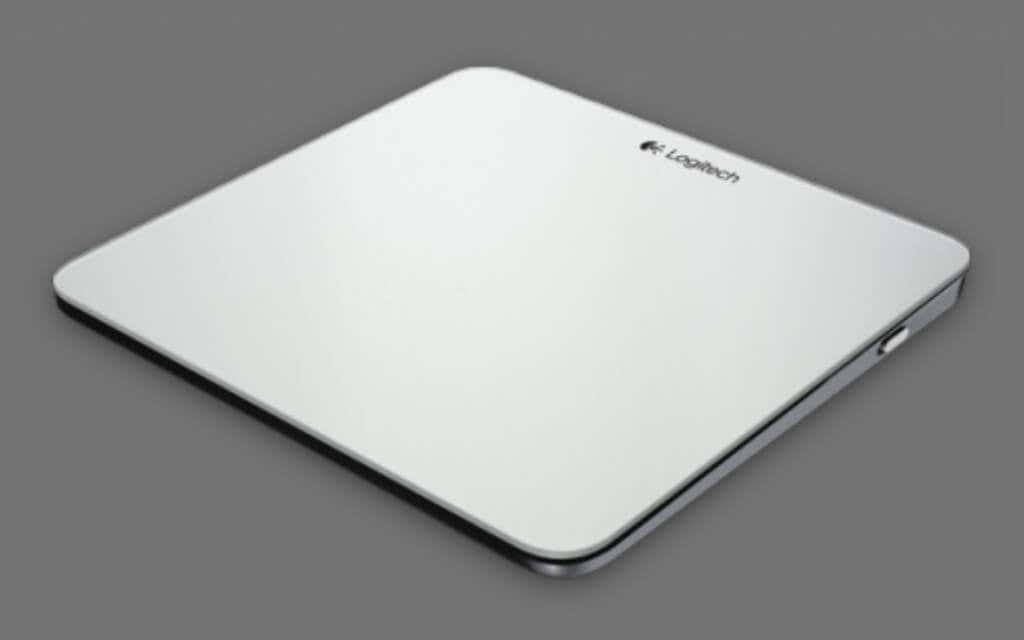
Your laptop may have a special key that enables and disables the built-in touchpad. It’s usually mapped to a function key (such as F7 on Acer laptops), and you could’ve toggled it by accident. Press it and check if you can then move the cursor around. If you use an external trackpad device with your Windows 10 computer, look for a power switch and make sure it’s set to On. Additionally, if the device uses a wireless connection, you must ensure that it’s fully charged.
2. Enable Touchpad in Windows 10
You’ll also find an option capable of turning your touchpad on and off within the Windows 10 settings. Check it out.
- Open the Start menu (or press the Windows key) and select Settings.
- Select Devices.
- Select Touchpad on the sidebar. Then, make sure that the switch underneath Touchpad is active. Additionally, the Touchpad settings screen features Leave touchpad on when a mouse is connected. If your computer deactivates the touchpad whenever you connect a mouse, make sure to enable it.
3. Review/Reset Touchpad Settings
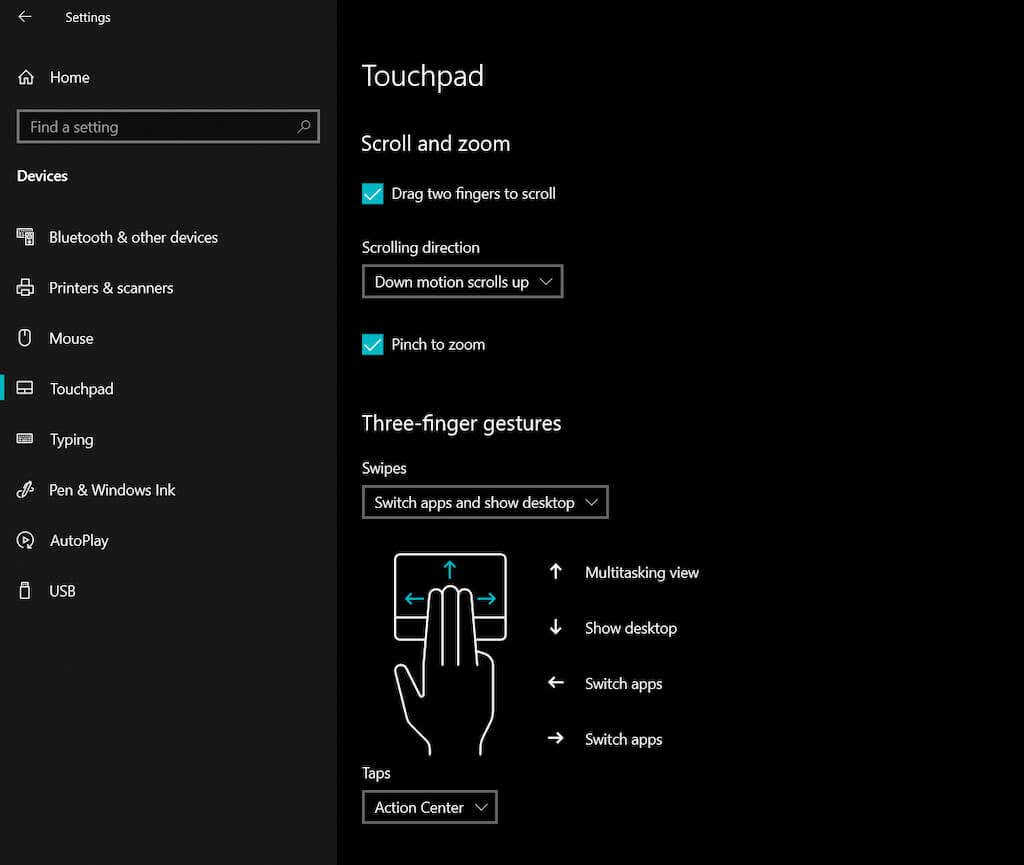
The Settings app in Windows 10 contains a slew of additional settings that help you determine how the touchpad works. If the device is responsive but not the way you want, review them and make necessary modifications.
- Go to Start > Settings > Devices > Touchpad.
- Scroll down to the Taps, Scroll and zoom, Three-finger gestures, Four-finger gestures sections, and ensure that nothing is amiss.
- If everything looks okay, but you still keep encountering issues, scroll down to the Reset your touchpad section and select Reset. That helps remove any corrupt configurations. Then, readjust the settings.
4. Restart Laptop or Desktop Device
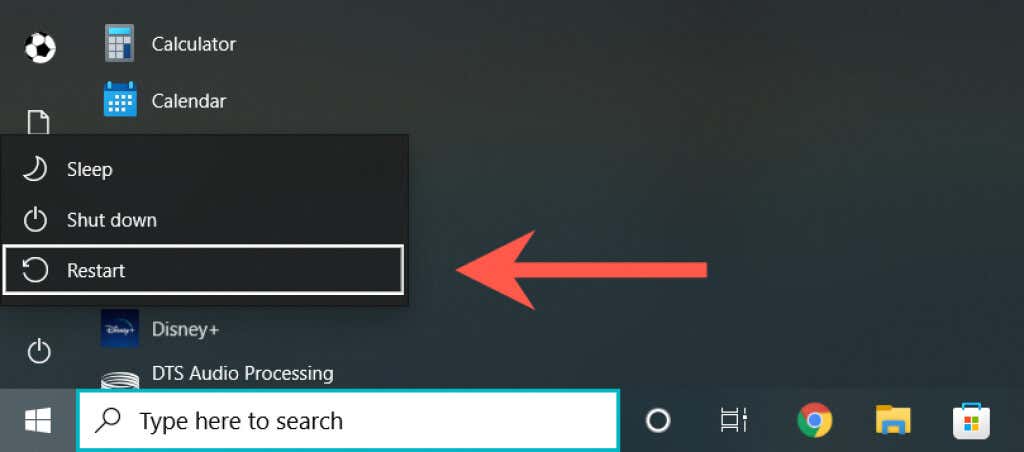
If you haven’t already, try restarting your laptop or desktop. That usually takes care of any system-related anomalies preventing a built-in or external touchpad from working correctly. Open the Start menu and select Power > Restart to perform a system reboot.
5. Disconnect/Reconnect Touchpad
If the issue occurs with an external touchpad, just remove and plug the USB cable or wireless receiver back in (preferably to a different USB port) and check if the issue recurs. If possible, avoid connecting it to any USB hubs. If the touchpad relies on Bluetooth for connectivity, you must remove the device from Windows 10 and repair it with your computer.
- Open the Start menu and go to Settings > Devices > Bluetooth & other devices.
- Select your touchpad and select Remove device.
- Select the Add Bluetooth or other device option to pair the touchpad.
6. Check the BIOS/UEFI
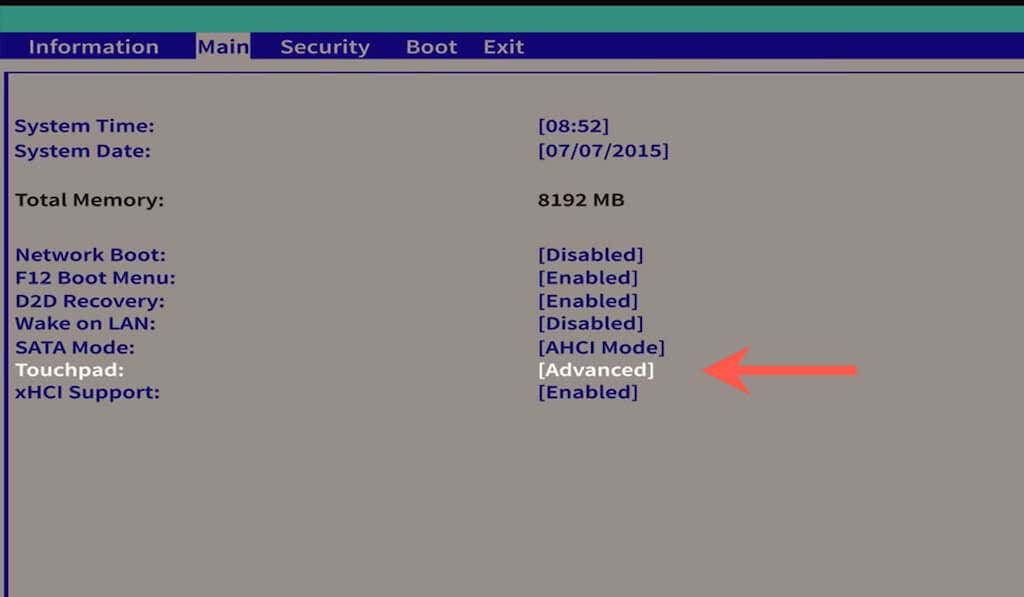
You could fix an unresponsive or malfunctioning touchpad by visiting your laptop’s BIOS/UEFI. Locate the touchpad setting and reconfigure it as needed. The procedure differs among laptop models, so you may want to refer to a user manual or online documentation for specific instructions. But here’s a general rundown.
- Restart your laptop and press the relevant function key to enter the BIOS/UEFI—e.g., F2, F9, F10, or F12.
- Locate the setting related to the touchpad using the arrow keys. For example, it could be listed as Touchpad or Internal Pointing Device.
- Make sure that it’s set to Enabled or Advanced. If not, press the Enter button and adjust. Important: If you’ve made changes, go to the Exit menu and save them before exiting the BIOS/UEFI.
7. Uninstall and Reinstall Device Manager
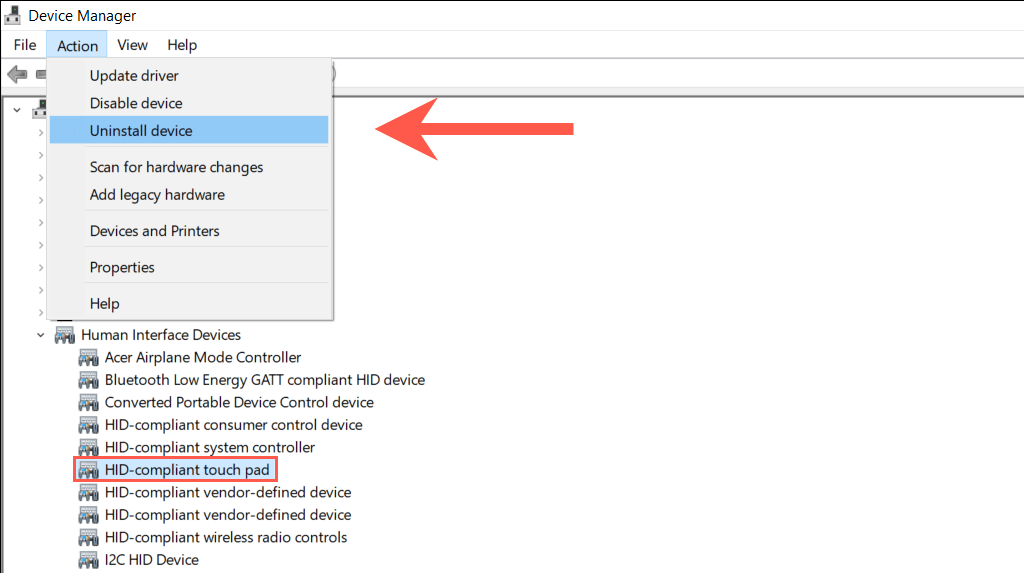
Try uninstalling and reinstalling the touchpad driver via the Device Manager to help rule out issues with driver corruption.
- Right-click the Start button (or press Windows + X) and select Device Manager.
- Locate and select the touchpad device driver under Human Interface Devices or Mice and other pointing devices.
- Select Action > Uninstall device on the menu bar.
- Select Uninstall again to remove the driver.
- Restart your computer to reinstall the touchpad driver automatically.
8. Update Drivers & Install Support Software
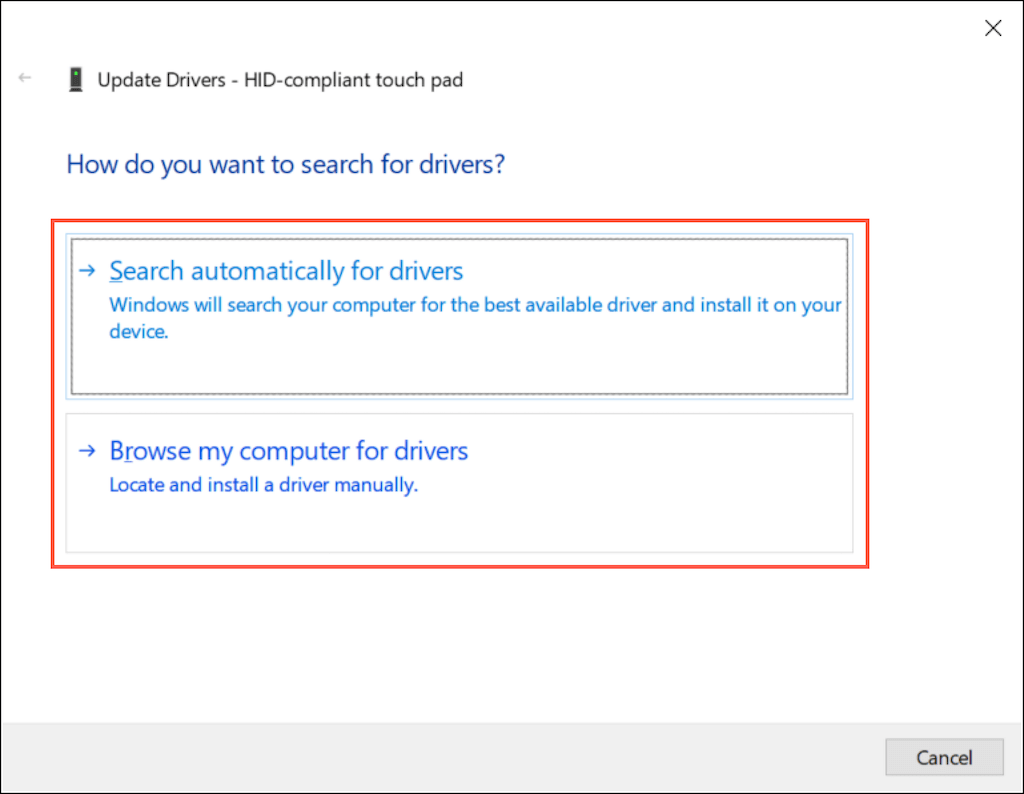
Your next shot at fixing the issue involves double-checking that Windows 10 has installed the latest drivers for the touchpad. Select the touchpad driver within the Device Manager and select Action > Update driver. On the Update Drivers wizard, select Search automatically for drivers. If Windows 10 fails to procure newer drivers, search for updates via Windows Updates or download the latest drivers from your laptop manufacturer’s site—e.g., Dell, HP, Lenovo—and use the Browse my computer to install the driver options. Your touchpad may also require additional driver software to work correctly. Look up the manufacturer’s website and download if available—e.g., Logitech Options.
9. Check Computer for Malware
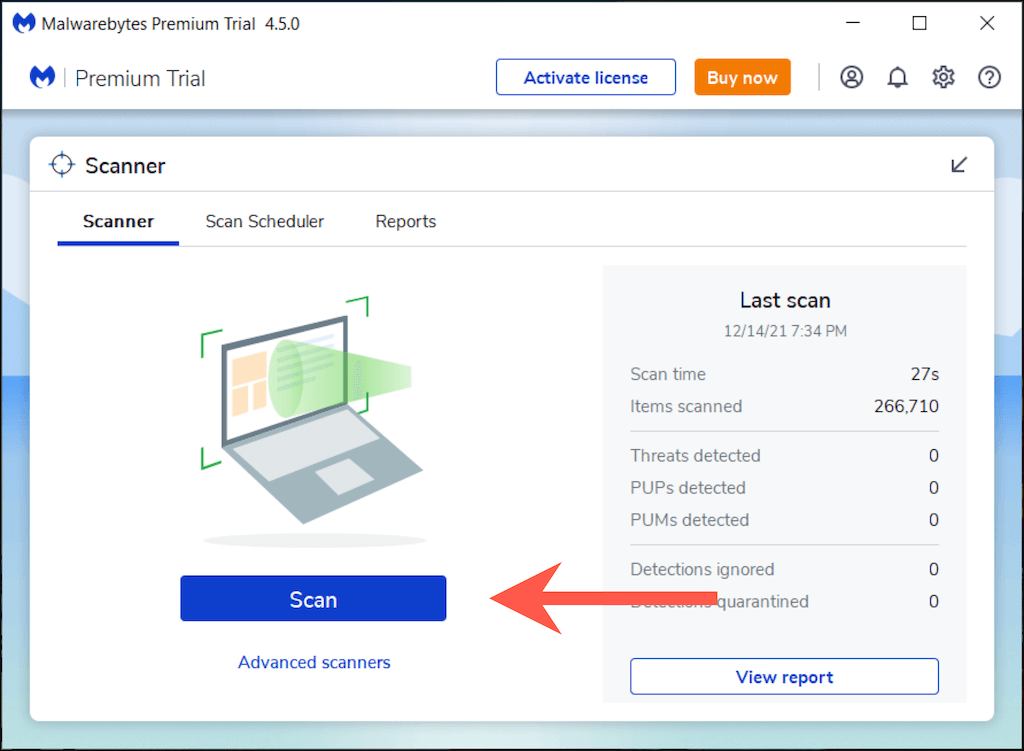
Computer viruses can hijack critical system settings and prevent devices such as the touchpad from working correctly. If none of the above fixes work, we recommend downloading and installing a dedicated anti-malware remover such as Malwarebytes. Then, perform a system-wide scan for malware.
10. Update Windows 10
Finally, it’s a good idea to update the operating system. Touchpad problems can be system-related, and the latest Windows 10 updates often address many known issues.
- Open the Start menu and select Settings.
- Select Windows Update.
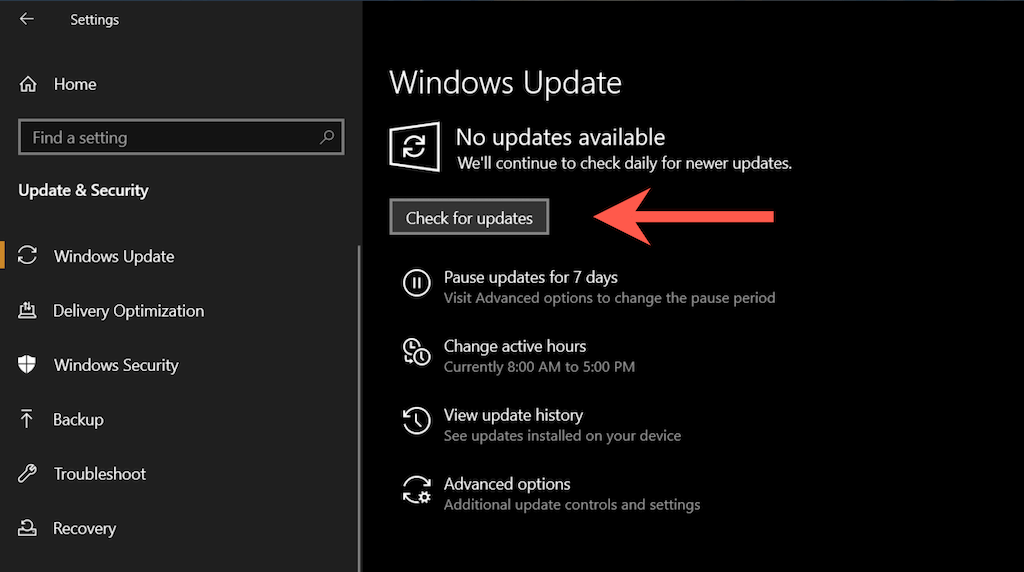
- Select Check for updates to check for and install the latest Windows 10 updates. Also, select View optional updates (if you see the option within the Windows Update screen) and install any touchpad-specific drivers.
Contact Laptop or Touchpad Manufacturer
The fixes above should’ve helped resolve touchpad-related issues on your PC. If not, you’re likely dealing with a faulty device, so your next option is to contact your laptop or touchpad manufacturer for assistance.
