When Should I Re-install Windows?
There are several things you can do to fix minor and major Windows problems. The Check Disk (CHKDSK) utility is great for fixing issues with the file system due to bad sectors on hard drives. We can show you how to fix file system errors in Windows with CHKDSK. The System File Checker (SFC) and Deployment Image Servicing and Management (DISM) command line tools can find and fix a host of Windows issues. SFC is great for finding and repairing system files in Windows, whereas DISM can do a more thorough check and repair Windows using resources from Microsoft’s Windows Update service. We have a whole article on how to use SFC and DISM. Try these things first. If that doesn’t do it, and you’re certain that the issue isn’t a hardware issue, then it might be time to start again. WARNING: we’re talking about wiping away all your files and programs and starting again. Make sure to back up your files to an external drive or to a cloud storage service.
Three Ways to Do a Clean Reinstall of Windows
There are three ways you can do a clean reinstall of Windows. We’ll be focusing on Windows 10. If you’re using Windows 8.1 or earlier, the first two are for you.
Reset this PC for a Clean Install
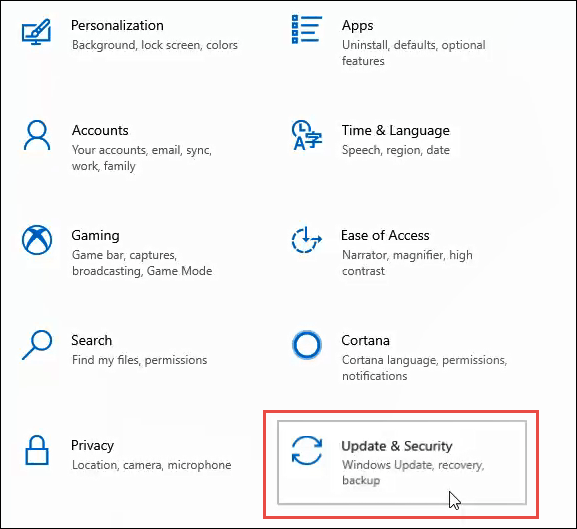
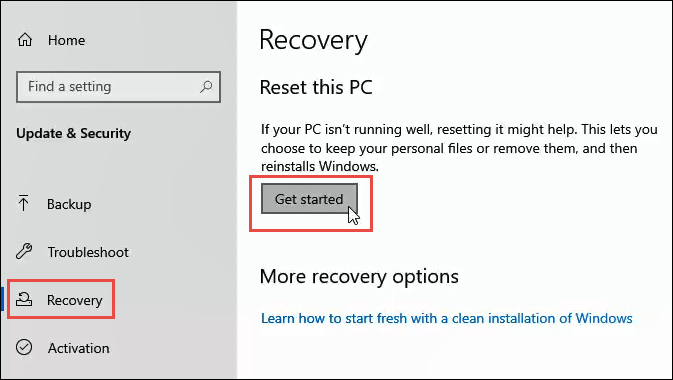
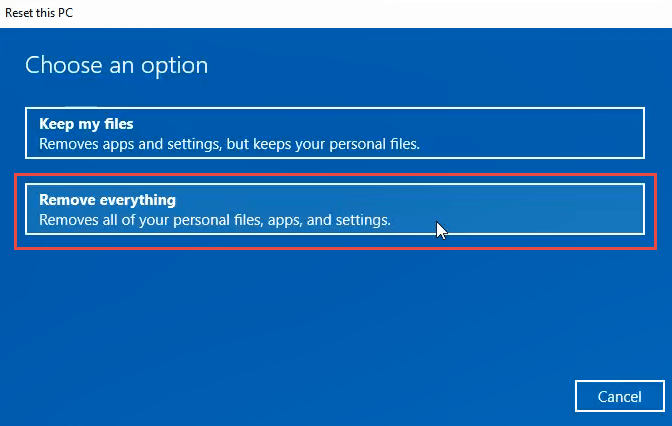
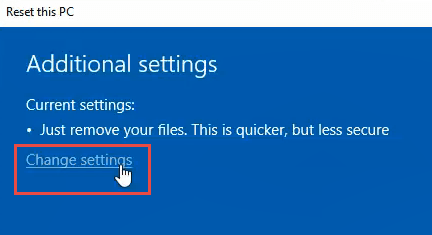
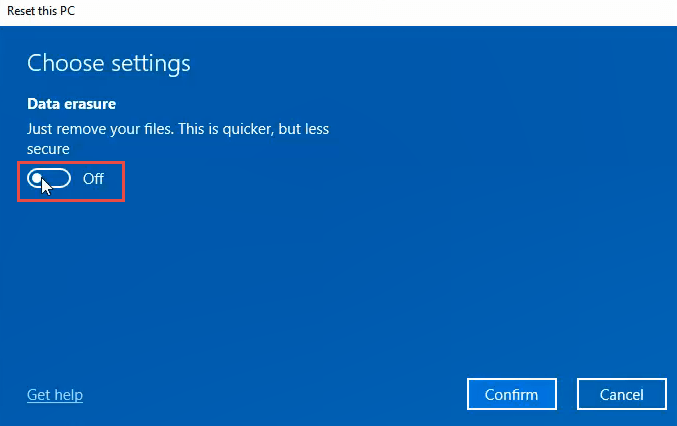
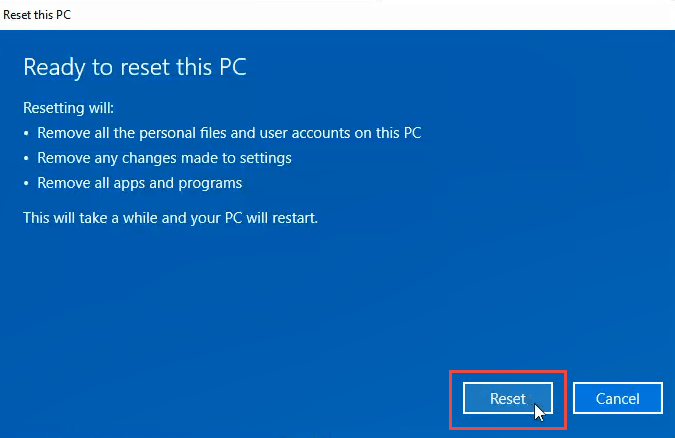
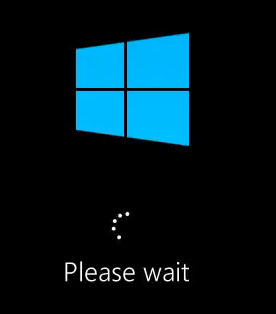
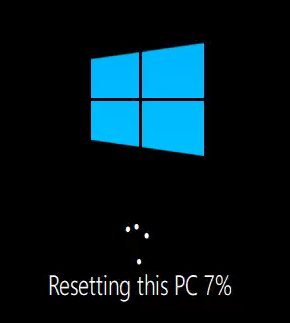
This should be your first option when trying to completely wipe your computer and re-install Windows 10. It’s simple, doesn’t require a DVD or USB drive, and doesn’t even require you to enter your Windows license key. In the Type here to search bar, start typing Settings. When the Settings utility is shown, click on that to start it. In the Settings window, scroll down and click on Update & Security. In the Update & Settings window, on the left-side, click on Recovery. Once it’s in the Recovery window, click on the Get Started button. To wipe everything from your computer, click on the Remove everything option. It may take a few minutes to get things ready. Then, it will tell you that the current setting is to Just remove your files. This is quicker but less secure. We’re going for a complete wipe, so this isn’t enough. Click on Change settings. In this window, click on the Off button to get to the data erasure option. Click Confirm. After a few seconds, you’ll see the Ready to reset this PC window. If you’re certain you want to do this, click on Reset. It will prepare to do the reset. This part can take several minutes. During our test, it took about 15 minutes. Then the computer restarts. When the computer restarts, you’ll see the Windows logo and Please wait. Then the screen may go black for a few minutes. Be patient. The Windows logo will come back and under it will read Resetting this PC. It will start to count in percentage of completion. This can take several minutes to an hour or more depending on your PC. When it is complete, you can begin your Windows set up again.
Reinstall Windows from DVD or Bootable USB Drive
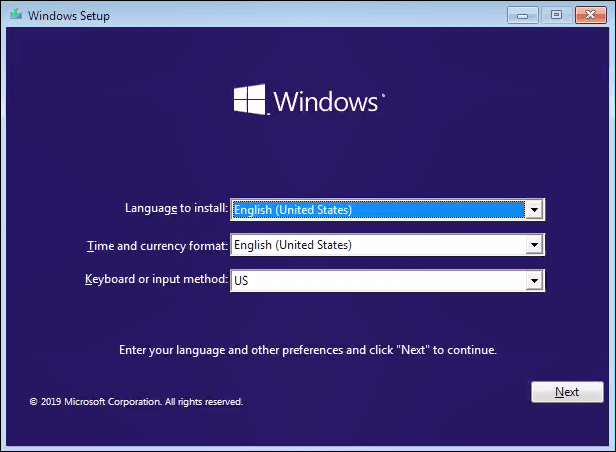
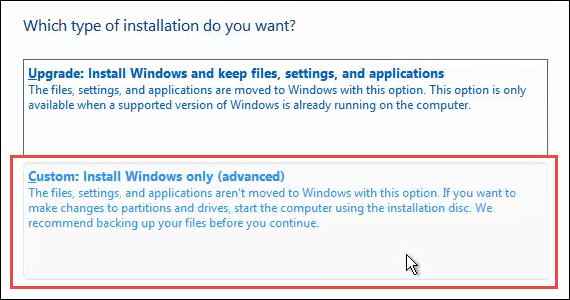
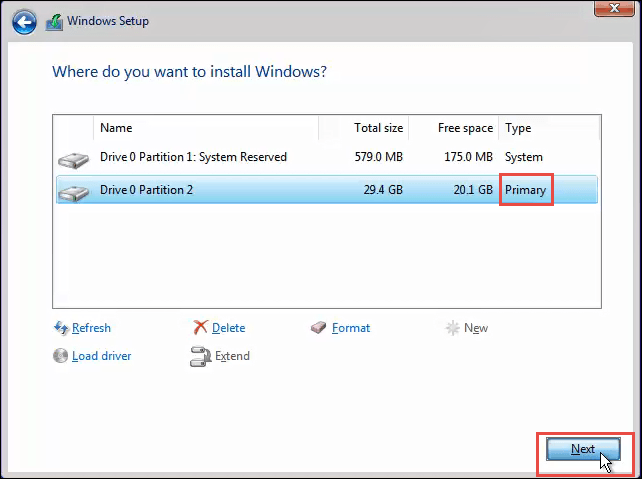
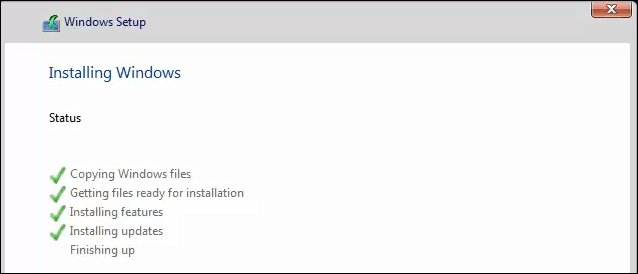
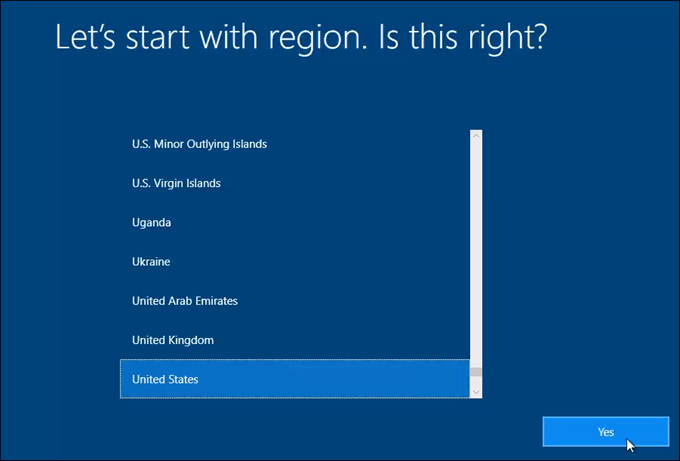
You’ll need to have either the Windows DVD that came with your computer or you bought on its own, or a bootable USB drive with Windows on it. Many laptop and computer makers have utilities built into their Windows installs to help you create these recovery drives. If you didn’t make one when you got your computer, now’s the time to do that. Using the manufacturer’s official Windows installation is the best way to go, as it will have all the hardware drivers specific to the make and model of your computer. If that’s not an option, you can download an official ISO of Windows 10 using the Windows Media Creation Tool or just your web browser. We can also show you where to get Windows 8.1 or 7 ISOs. You’ll need to find your Windows Product Key. The Windows Media Creation tool will guide you through the creation of a bootable USB drive or DVD. It’s surprisingly simple, but it can take a while. Next, you’ll need to boot your computer from the DVD or USB drive. You may need to access your computer’s BIOS and change the boot order. It’s likely set to boot from your hard drive first. Reboot your PC and follow the steps below. When your computer starts, you’ll be presented with the Windows installation wizard, which will walk you through the process. To do this in a way that wipes the drive, go until you get to the point where you’ll be asked, Which type of installation do you want? At this point choose Custom: Install Windows only (advanced). You may be asked where you would like to install Windows. Typically, it will be the Primary drive. Select that and click Next. The installation will continue. First, you’ll see a screen like the one below for several minutes. Then your computer will restart, and you’ll see a black screen with a blue Windows icon. It will go through several stages not requiring any input from you. Eventually, you’ll see the blue install screen with a rotating circle and the words Just a moment… You’re almost there. This will take several minutes and go through some more text. Now, you’ll be at the Windows set up stage. Continue through this to get Windows set up and you’re ready to go.
Reinstall Windows from Your Install Media, from Inside of Windows
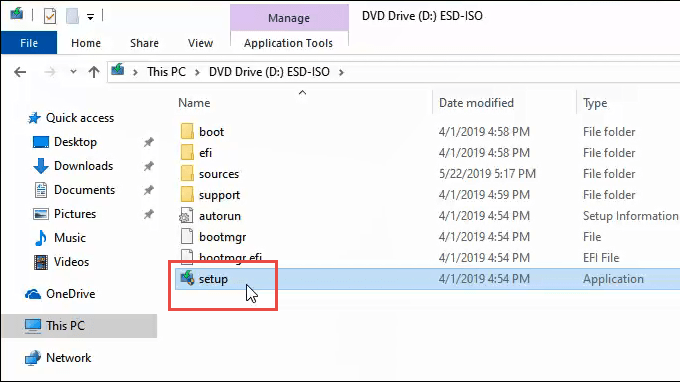
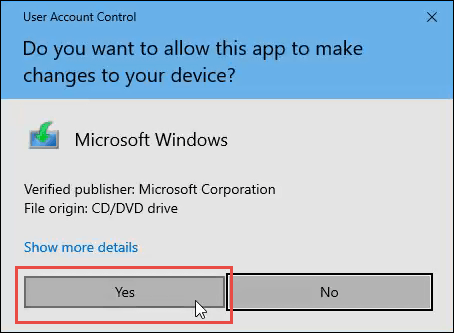
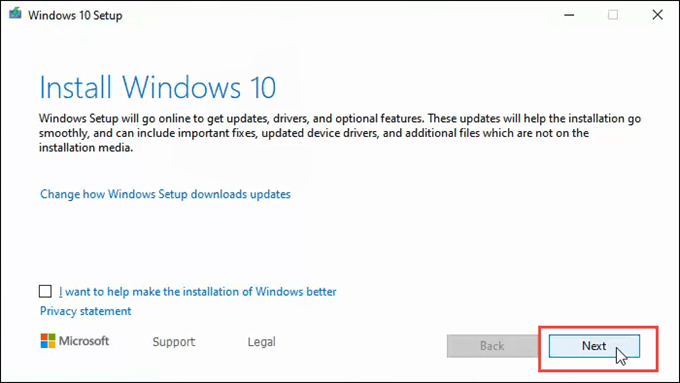
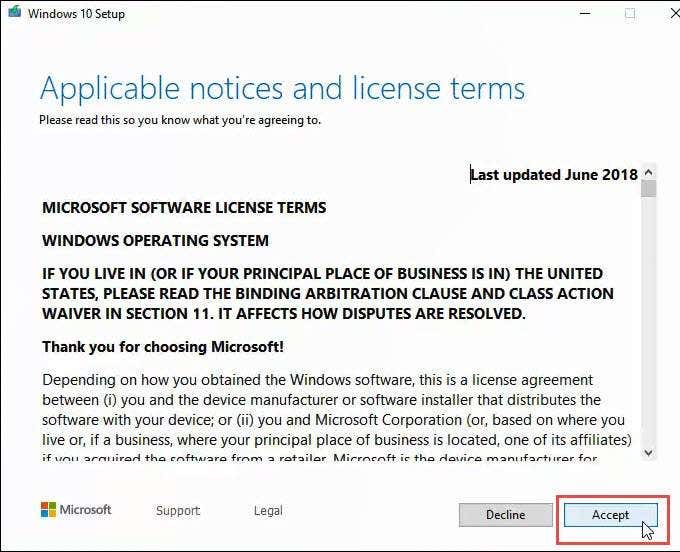
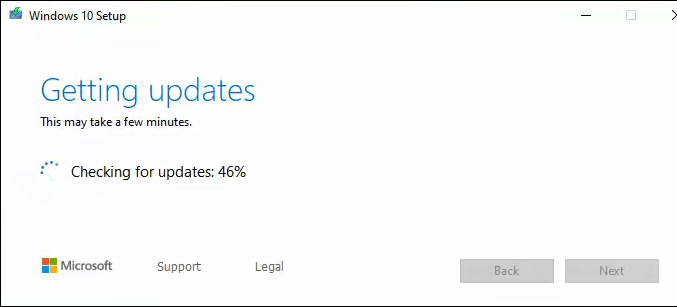
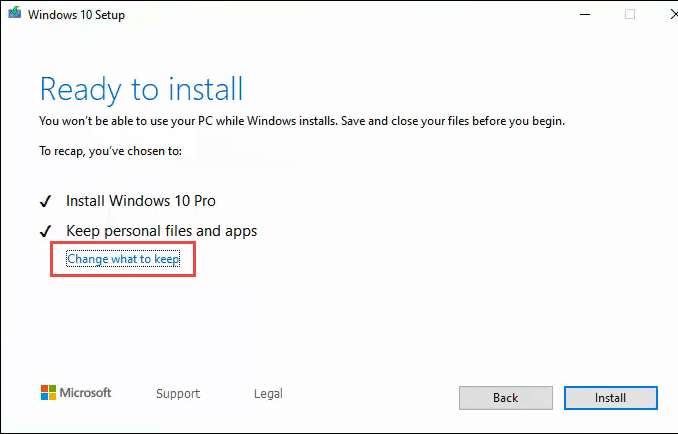
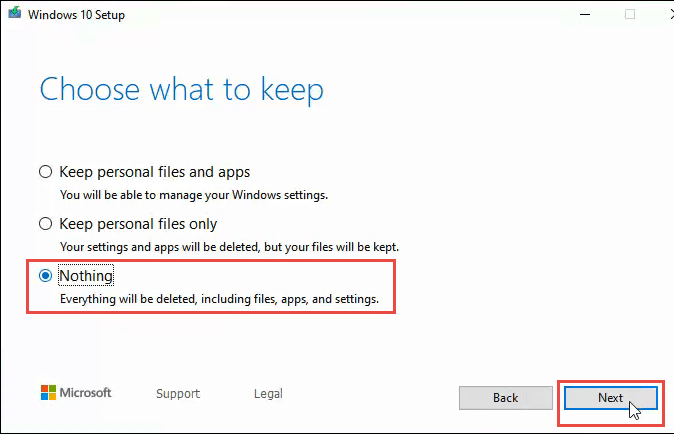
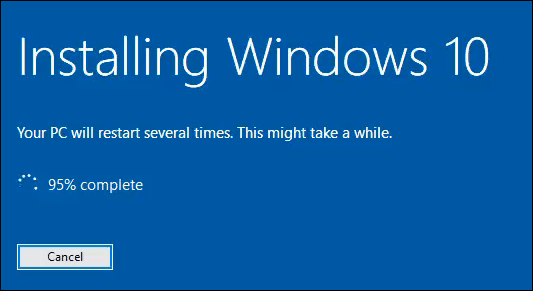
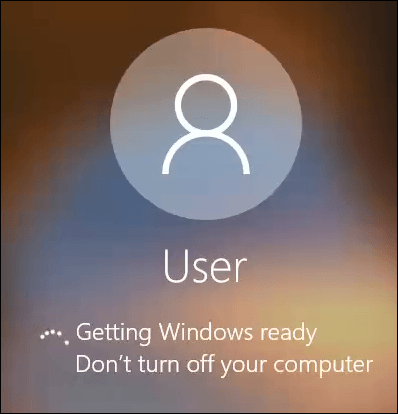
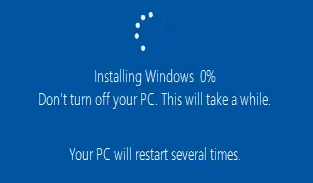
This method is a last resort. The Reset this PC method is easier and quicker. That might not be an option for you, so let’s go over how-to re-install Windows from inside of your current Windows installation. The one upside to this method is that you should not have to enter your Windows product key for it to work. Insert your Windows installation media. Navigate to it in File Explorer and open it. Then look for your Windows installation media. Open it and look for the setup application and double-click on it. The User Account Control (UAC) window will open asking if you want to all this app to make changes to this device. Click Yes. A small window will open showing the Windows logo and will proceed to say that it is preparing. It will count percentage of readiness. Next, the Windows 10 Setup window will open. It reads Install Windows 10 and that it will go online to get updates. If you wanted, you could click on Change how Windows Setup downloads updates. For our purposes, click on the Next button. It may quickly go through a few screens, like Getting updates, Restarting Windows 10 Setup, Checking your PC, We’re getting a few things ready, and then stop on the Applicable notices and license terms screen. Feel free to read it and click on Accept. It may quickly go through a few more screens such as Choose what to keep, Making sure you’re ready to install, and then it will stay on Getting updates for several minutes counting the percentage done. This can take a while. It will then start Making sure your PC has enough space, and then arrive at the Ready to install screen. It may say that it will Keep personal files and apps. Just click on Change what to keep under that. There will be three choices: Keep personal files and apps, Keep personal files only, and Nothing. If you want a clean wipe, click on Nothing then click Next. It will then quickly go through some of the screens like before, and then you’ll see the big blue Installing Windows 10 screen. It warns that your PC will restart several times and that it will take a while. After some time, your computer will restart. You’ll see your login screen and the message Getting Windows ready. Don’t turn off your computer. That will go on for several minutes. Your screen may go black. Be patient. Eventually, you’ll get to a full blue screen reading Installing Windows 0% Don’t turn off your PC. This will take a while. Your PC will restart several times. Yes, it does take a while. Our test run took well over an hour. Finally, the computer will restart, and you should be at your login window again. Log in and proceed to set up Windows.
Welcome to Your Fresh Windows Install
Those are the three ways that you can install Windows in a way that completely wipes out everything on your computer. This is a new start. Just remember, if you wanted to access any of your old files you better have them backed up to a cloud service or on an external hard drive. Enjoy your fresh install of Windows.

